There’s something incredibly comforting about a classic dessert, and these Old Fashioned Cherry Bars are the epitome of timeless baking. This recipe features a buttery, melt-in-your-mouth shortbread crust that doubles as a crumble topping, all sandwiching a sweet and slightly tart cherry filling. Forget complicated recipes; this is the straightforward, delicious treat that will transport you straight to grandma’s kitchen. It’s simple, elegant, and perfect for any occasion, from potlucks to afternoon tea.
We’re using simple pantry staples to create a dessert that tastes anything but ordinary. The secret is in the texture of the shortbread and the perfect sweetness of the cherry layer. If you’ve been searching for a reliable and utterly delicious cherry bar recipe, you’ve found it.
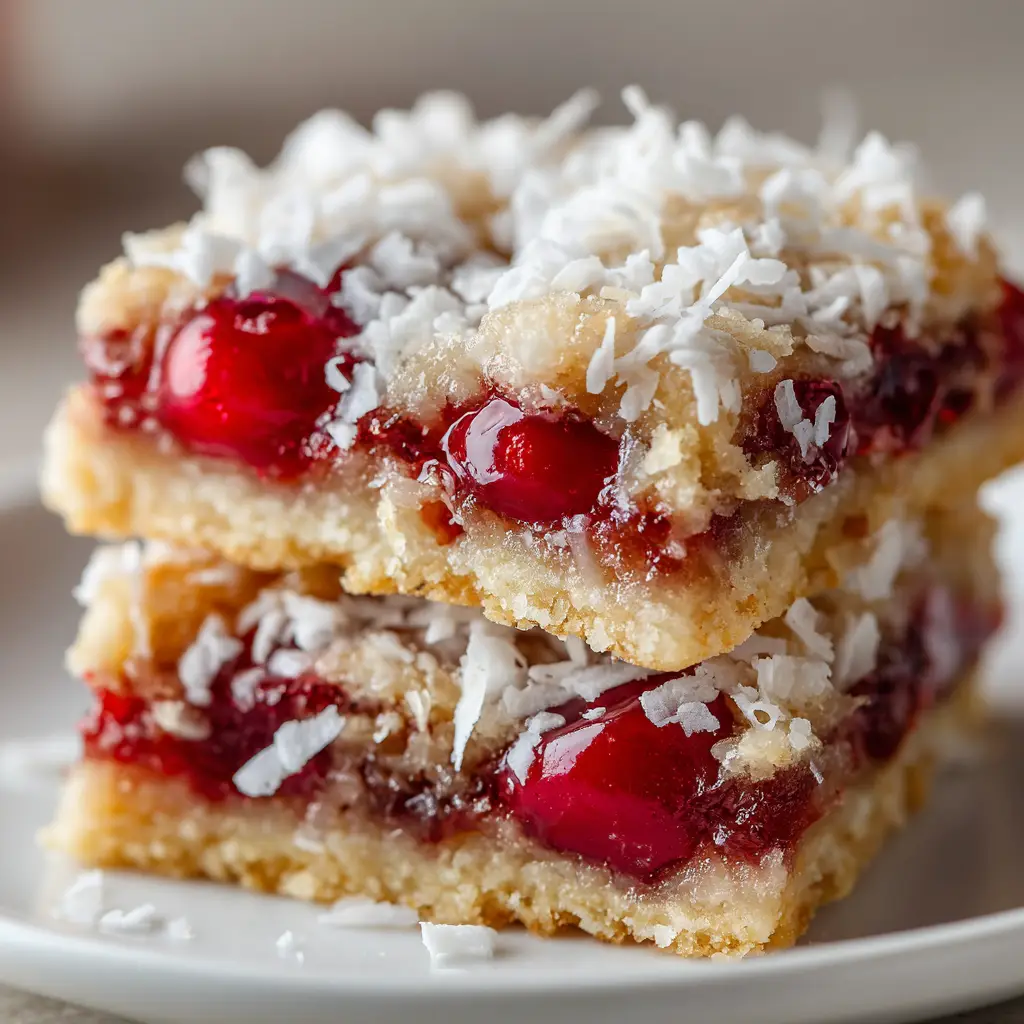
Why You’ll Love These Old Fashioned Cherry Bars
- Incredibly Easy to Make: The crust and crumble topping are made from the same simple dough, saving you time and effort.
- Perfectly Buttery Texture: The shortbread base is rich, tender, and provides the perfect foundation for the sweet cherry filling.
- Classic, Nostalgic Flavor: A hint of almond extract enhances the cherry flavor, giving these bars that authentic, old-fashioned taste.
- Great for Any Occasion: They are sturdy enough to be a perfect potluck dessert, yet elegant enough for a special celebration. They travel well and are always a crowd-pleaser.
Ingredients You’ll Need
This recipe comes together with simple ingredients that you likely already have on hand. Let’s break down what you’ll need for each layer.
For the Shortbread Crust & Topping
- All-Purpose Flour: Provides the structure for our buttery shortbread.
- Granulated Sugar: Adds the perfect amount of sweetness to the crust and crumble.
- Salted Butter: Use cold, cubed butter. The salt enhances the flavor, and the cold temperature creates a tender, crumbly texture.
- Almond Extract: This is the secret ingredient that gives the bars a classic, bakery-style flavor that pairs beautifully with cherries.
- An Egg Yolk: Helps bind the dough and adds richness.
For the Cherry Filling
- Cherry Pie Filling: For convenience and perfect results every time, a quality canned cherry pie filling works wonders. You can also use jarred maraschino cherries, drained and chopped.
- A Touch of Lemon Juice: Brightens up the flavor of the cherry filling, adding a subtle tang.

How to Make Old Fashioned Cherry Bars Step-by-Step
Making these bars is a simple process. Just follow these steps for a perfect batch every time!
- Preheat and Prepare: First, preheat your oven to 375°F (190°C). Grease and flour an 8×8 inch baking pan, or line it with parchment paper, leaving an overhang to easily lift the bars out later.
- Make the Shortbread Dough: In a medium bowl, whisk together the flour and granulated sugar. Using a pastry blender or your fingers, cut in the cold, cubed butter until the mixture resembles coarse crumbs.
- Finish the Dough: In a small separate bowl, whisk together the egg yolk and almond extract. Pour this into the flour mixture and stir until the dough just starts to come together.
- Form the Crust: Reserve about one cup of the crumbly dough for the topping. Press the remaining dough firmly and evenly into the bottom of your prepared pan to form the crust.
- Add the Filling: Spread the cherry pie filling evenly over the crust. If you’re using lemon juice, stir it into the filling before spreading.
- Add the Topping: Sprinkle the reserved cup of dough evenly over the cherry filling.
- Bake to Perfection: Bake for 30-35 minutes, or until the top is lightly golden brown and the filling is bubbly.
- Cool Completely: This is the most important step! Let the bars cool completely in the pan on a wire rack. If you try to cut them while warm, they will fall apart. For best results, chill them in the refrigerator for at least an hour before slicing.
Pro Tips for Perfect Cherry Bars
- Keep Your Butter Cold: Using cold butter is key to a tender, shortbread-like crust. It creates small pockets of steam as it bakes, resulting in a lighter texture.
- Don’t Overmix the Dough: Mix only until the dough just comes together. Overworking it can develop the gluten and make the crust tough instead of tender.
- Let Them Cool Completely: I can’t stress this enough! The cooling process allows the filling to set and the crust to firm up, ensuring clean, beautiful slices. Patience is a virtue here. For another recipe where cooling is key, try these fantastic cherry crumb bars.
Delicious Variations to Try
While the classic recipe is a winner, you can easily customize these bars to your liking.
- Add a Glaze: Once cooled, drizzle the bars with a simple glaze made from powdered sugar, a splash of milk, and a drop of almond or vanilla extract.
- Nutty Topping: Add 1/2 cup of sliced or slivered almonds to the crumble topping for extra crunch and flavor.
- Different Fillings: This shortbread base is versatile! Try it with raspberry, blueberry, or even apricot filling. These raspberry cheesecake bars are a great alternative.
Storing and Freezing Your Cherry Bars
These bars store wonderfully, making them a great make-ahead dessert. To store, place them in an airtight container. They will keep at room temperature for up to 3 days or in the refrigerator for up to a week. For longer storage, you can freeze them for up to 3 months. Simply wrap the sliced bars individually or separate layers with parchment paper in a freezer-safe container. Thaw at room temperature before enjoying.
Frequently Asked Questions
Absolutely. You can substitute the all-purpose flour with a quality 1-to-1 gluten-free baking flour blend. The texture will be very similar and just as delicious.
Yes, you can! If using fresh or frozen cherries, you will need to cook them down first. Combine 2 cups of pitted cherries with 1/2 cup of sugar and 2 tablespoons of cornstarch in a saucepan. Cook over medium heat until the mixture thickens, then let it cool completely before spreading over the crust.
The key to clean cuts is to let the bars cool completely, and then chill them in the refrigerator for at least one hour. Use a large, sharp knife, and wipe the blade clean between each cut.
Store the bars in an airtight container at room temperature for up to 3 days or in the refrigerator for up to a week. They are a great make-ahead dessert!
A hard crust is usually caused by overmixing the dough or not using cold enough butter. Mix the dough only until it just comes together, and make sure your butter is cold and cubed right from the fridge for a tender, shortbread-like texture.
More Delicious Dessert Recipes
If you loved these Old Fashioned Cherry Bars, you’re sure to enjoy some of our other favorite dessert recipes. This apple crumb cake recipe is another classic that’s perfect for any occasion. And for something truly decadent, don’t miss our famous Heaven on Earth Cake.
We hope you love this recipe as much as we do! If you make it, please let us know what you think in the comments below. And don’t forget to share your beautiful creations with us on Pinterest!
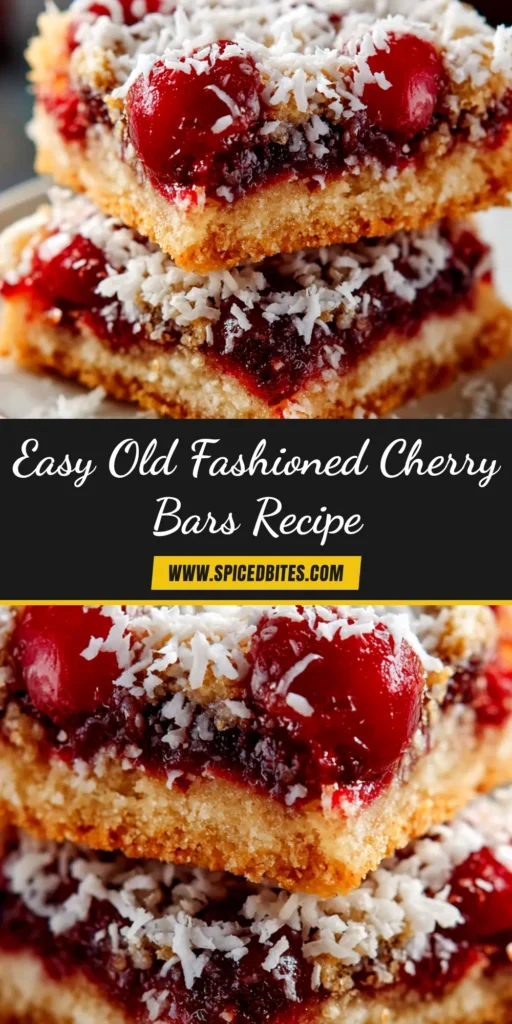
Old Fashioned Cherry Bars Recipe
Old Fashioned Cherry Bars (The BEST Classic Recipe)
Equipment
- 1 8x8 inch baking pan
- 2 Mixing Bowls
- 1 Pastry Blender Optional
Ingredients
Shortbread Crust & Topping
- 1.5 cups All-Purpose Flour
- 0.5 cup Granulated Sugar
- 0.75 cup Salted Butter cold and cubed
- 0.5 tsp Almond Extract
- 1 Large Egg Yolk
Cherry Filling
- 1.5 cups Cherry Pie Filling about one 21 oz can
- 1 tsp Lemon Juice optional, for brightness
Instructions
- Preheat oven to 375°F (190°C). Line an 8x8 inch baking pan with parchment paper, leaving an overhang to lift out later.
- In a medium bowl, whisk together the flour and sugar. Cut in the cold butter using a pastry blender or your fingers until the mixture resembles coarse crumbs.
- In a small bowl, whisk the egg yolk and almond extract. Pour this over the flour mixture and stir until the dough just starts to come together.
- Reserve 1 cup of the mixture for the topping. Press the remaining dough evenly into the bottom of the prepared pan.
- Spread the cherry pie filling over the crust. Sprinkle the reserved dough mixture evenly over the top.
- Bake for 30-35 minutes, or until the top is lightly golden and the filling is bubbly.
- Let the bars cool completely in the pan before slicing and serving. For best results, chill for 1 hour before cutting.
Notes
Tip 2: For an extra layer of flavor, consider adding a simple powdered sugar glaze after the bars have cooled completely.


