Welcome to the ultimate recipe for Cherry Crumb Bars! If you’re searching for a dessert that perfectly balances sweet, tart, and buttery, you’ve found it. These bars feature a juicy, vibrant cherry filling sandwiched between a rich, crumbly oat base and topping. They are incredibly simple to make and guaranteed to disappear fast from any dessert table.
Whether you’re a seasoned baker or just starting, this recipe is designed for success. We’ll walk through every step to ensure your cherry crumb bars are absolutely perfect, with a crisp topping and a gooey, delicious center. Get ready to make your new favorite treat!
Why This Cherry Crumb Bar Recipe is a Must-Try
You’ll fall in love with this recipe for so many reasons. First, the texture is simply divine—a soft, cake-like base gives way to a sweet cherry filling, all crowned with a buttery, crunchy crumble. Second, it’s incredibly versatile. You can use fresh, frozen, or even canned cherries, making it a perfect year-round dessert. Finally, it’s a crowd-pleaser that’s ideal for potlucks, holidays, or a simple weekend indulgence.
The Key Ingredients for Perfect Cherry Crumb Bars
The magic of these bars lies in their simple, high-quality ingredients. The recipe is divided into two main components: the crumb mixture that serves as both the base and the topping, and the delightful cherry filling.
For the Buttery Crumb Topping & Base
This all-in-one mixture creates a sturdy yet tender foundation and a perfectly crisp topping. Using cold butter is the key; it creates steam pockets as it melts, resulting in a flakier, more delicious crumb.
- All-Purpose Flour: Provides the main structure for the crust and crumble.
- Rolled Oats: Adds a wonderful chewy texture and nutty flavor that complements the cherries.
- Brown Sugar & Granulated Sugar: A combination that offers both moisture and a deeper, caramel-like sweetness.
- Cold Salted Butter: The secret to a perfectly crisp and flaky crumb. It must be cold and cubed!
- Baking Powder: Gives a slight lift to the base, keeping it from becoming too dense.
- Cinnamon & Salt: Enhances all the other flavors beautifully.
For the Sweet Cherry Filling
This filling is bright, sweet, and perfectly jammy. The lemon juice is essential for balancing the sweetness and brightening the cherry flavor.
- Cherries: The star of the show! We’ll discuss your options below.
- Granulated Sugar: Sweetens the filling to perfection.
- Cornstarch: The thickening agent that ensures a set, sliceable filling without being gummy.
- Lemon Juice: Cuts through the sweetness and enhances the natural tartness of the cherries.
- Almond Extract: A classic pairing that adds a subtle, nutty depth to the cherry flavor.
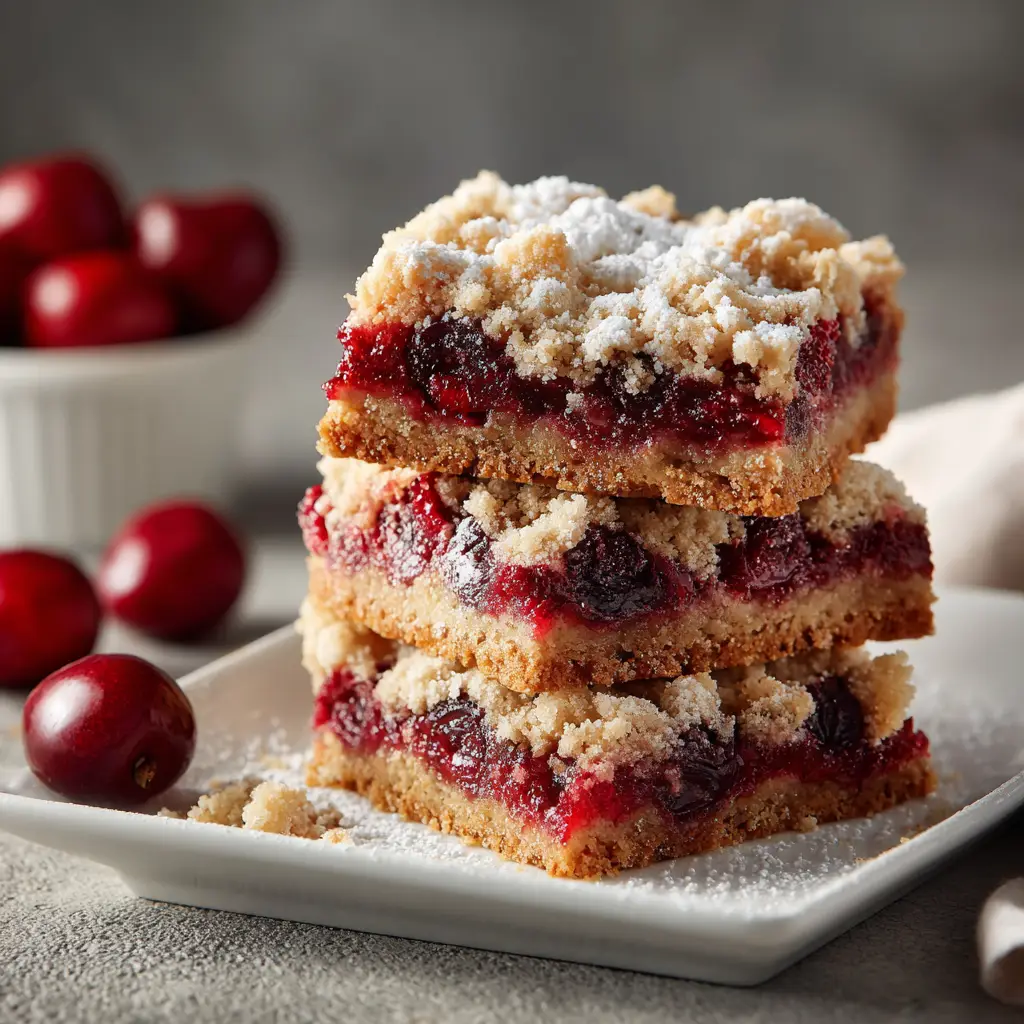
How to Make Cherry Crumb Bars: A Step-by-Step Guide
Making these cherry oat bars is a straightforward process. Follow these simple steps for a dessert that looks and tastes like it came from a professional bakery.
- Preheat and Prep: Start by preheating your oven to 375°F (190°C). Grease and line an 8×8 inch baking pan with parchment paper, leaving an overhang on the sides to act as handles. This makes lifting the bars out later a breeze.
- Mix the Dry Ingredients: In a large bowl, whisk together the flour, rolled oats, brown sugar, granulated sugar, baking powder, cinnamon, and salt.
- Cut in the Butter: Add the cubed, cold butter to the dry ingredients. Using a pastry cutter or your fingertips, cut the butter into the mixture until it resembles coarse crumbs with some pea-sized pieces remaining.
- Form the Base: Set aside 1 cup of the crumb mixture for the topping. Press the remaining mixture firmly and evenly into the bottom of your prepared pan to form the crust.
- Prepare the Cherry Filling: In a separate bowl, gently stir together the cherries, sugar, cornstarch, lemon juice, and almond extract until the cherries are well-coated.
- Assemble the Bars: Pour the cherry filling over the crust and spread it into an even layer. Sprinkle the reserved cup of crumb mixture evenly over the top of the cherries.
- Bake to Perfection: Bake for 40-45 minutes, or until the fruit filling is bubbly and the crumb topping is golden brown.
- Cool Completely: This is the most important step! Allow the bars to cool completely in the pan on a wire rack for at least 2 hours. This allows the filling to set properly. Once cooled, use the parchment paper handles to lift the bars out of the pan and cut them into squares.
Choosing Your Cherries: Fresh, Frozen, or Canned?
One of the best things about this recipe is its adaptability. Here’s how to handle each type of cherry for flawless results.
Using Fresh Cherries
If you’re using fresh cherries, be sure to pit them first. A cherry pitter makes this job quick and easy. Fresh cherries provide the best, brightest flavor.
Using Frozen Cherries
Do not thaw frozen cherries before using them. Tossing them in the cornstarch mixture while still frozen helps prevent them from releasing too much excess water and making the crust soggy.
Using Canned Cherry Pie Filling
For an even quicker option, you can use one 21-ounce can of cherry pie filling. Simply spread it over the crust and proceed with the recipe. It’s a great shortcut when you’re short on time. If you enjoy classic fruit desserts, you might also love these old-fashioned cherry bars.

Pro Tips for the Best Cherry Oat Bars
Follow these simple tips to take your cherry crumb bars from great to absolutely irresistible.
- Don’t Overmix the Crumb: Work the butter in until the mixture is crumbly, but don’t overdo it. You want to see those little pockets of butter.
- Press the Crust Firmly: A firmly packed crust ensures a stable base that won’t fall apart when you slice the bars.
- Let Them Cool Completely: I can’t stress this enough! Slicing into warm bars will result in a gooey mess. Patience is key for clean, beautiful squares.
- Customize Your Crumble: Feel free to add 1/2 cup of chopped pecans or almonds to the topping mixture for extra crunch and flavor.
Delicious Variations to Try
While this recipe is fantastic as is, you can easily switch it up. Try swapping the cherries for blueberries or raspberries for a different flavor profile. For a decadent twist, consider adding a handful of white chocolate chips to the crumb topping before baking. If you love bar-style desserts, be sure to check out these amazing raspberry cheesecake bars.
Storage and Freezing Instructions
Proper storage will keep your cherry crumb bars fresh and delicious for days.
Storing at Room Temperature or in the Refrigerator
Store the bars in an airtight container at room temperature for up to 3 days or in the refrigerator for up to a week. The crumb topping will soften slightly over time.
How to Freeze Cherry Crumb Bars
These bars freeze beautifully! Once completely cooled, slice them into squares and place them in a single layer in a freezer-safe container or bag. They will keep for up to 3 months. Thaw at room temperature before serving.
Frequently Asked Questions
Yes, these bars freeze exceptionally well. Once they have cooled completely, cut them into squares and place them in a single layer in a freezer-safe container or bag for up to 3 months. Thaw them at room temperature before serving.
Absolutely! Fresh, pitted cherries work wonderfully and provide the best flavor. Simply follow the recipe as written. You can also use frozen (unthawed) cherries or a 21-ounce can of cherry pie filling as a quick alternative.
The key to a crisp topping is to ensure you don’t overmix the crumb mixture and to use cold butter. Also, make sure the cherry filling isn’t excessively watery. Using cornstarch as directed will thicken the filling properly as it bakes.
Store the cooled bars in an airtight container at room temperature for up to 3 days. If you prefer them chilled or want them to last longer, you can store them in the refrigerator for up to one week.
Using cold butter is crucial for achieving a light, crumbly, and crisp texture. As the small pieces of cold butter melt in the oven, they create steam pockets that result in a more tender and flaky crumb for both the base and the topping.
More Delicious Dessert Recipes
If you’re looking for more fruity and comforting desserts, you’re in the right place. An apple crumb cake is always a cozy choice, and these blueberry cheese danishes are perfect for a special breakfast. For a truly show-stopping treat, try these pecan pie cheesecake bars.
Share Your Creation!
I hope you love making and eating these incredible Cherry Crumb Bars! There’s nothing better than sharing a homemade treat with people you love. If you make this recipe, I would be thrilled if you shared your creation on Pinterest. Happy baking!
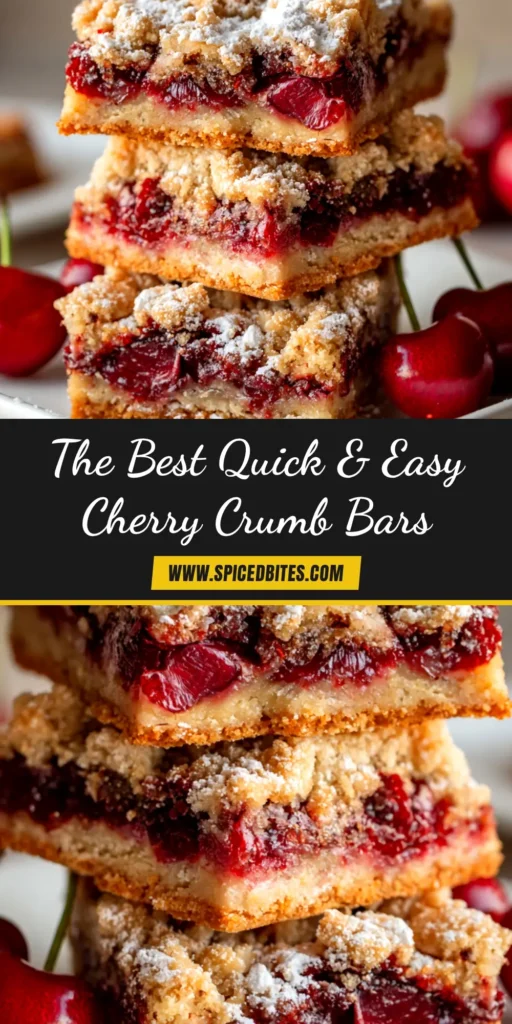
Cherry Crumb Bars Recipe
Cherry Crumb Bars: The Easiest, Most Buttery Recipe
Equipment
- 1 8x8 inch baking pan
- 2 Mixing Bowls
- 1 Pastry cutter or fork
Ingredients
For the Crumb Mixture (Base and Topping)
- 1.5 cups all-purpose flour
- 1 cup rolled oats
- 0.5 cup packed light brown sugar
- 0.5 cup granulated sugar
- 1 tsp baking powder
- 0.5 tsp ground cinnamon
- 0.5 tsp salt
- 1 cup cold salted butter cut into small cubes
For the Cherry Filling
- 4 cups pitted cherries fresh or frozen (do not thaw)
- 0.75 cup granulated sugar
- 4 tbsp cornstarch
- 1 tbsp lemon juice
- 0.5 tsp almond extract
Instructions
- Preheat oven to 375°F (190°C). Line an 8x8 inch baking pan with parchment paper, leaving an overhang on the sides.
- In a large bowl, whisk together the flour, rolled oats, brown sugar, granulated sugar, baking powder, cinnamon, and salt.
- Add the cold, cubed butter. Use a pastry cutter or your fingers to cut the butter into the mixture until it resembles coarse crumbs.
- Reserve 1 cup of the crumb mixture for the topping. Press the remaining mixture firmly into the bottom of the prepared pan to create the crust.
- In a separate bowl, gently stir together the cherries, sugar, cornstarch, lemon juice, and almond extract until well-combined.
- Pour the cherry filling over the crust and spread evenly. Sprinkle the reserved crumb mixture over the top.
- Bake for 40-45 minutes, until the topping is golden brown and the filling is bubbly.
- Cool completely in the pan on a wire rack for at least 2 hours before lifting out and slicing into bars. This is crucial for allowing the filling to set.
Notes
Allowing the bars to cool completely is essential for clean slices; do not rush this step.
You can substitute the cherries with other fruits like blueberries, raspberries, or peaches.


