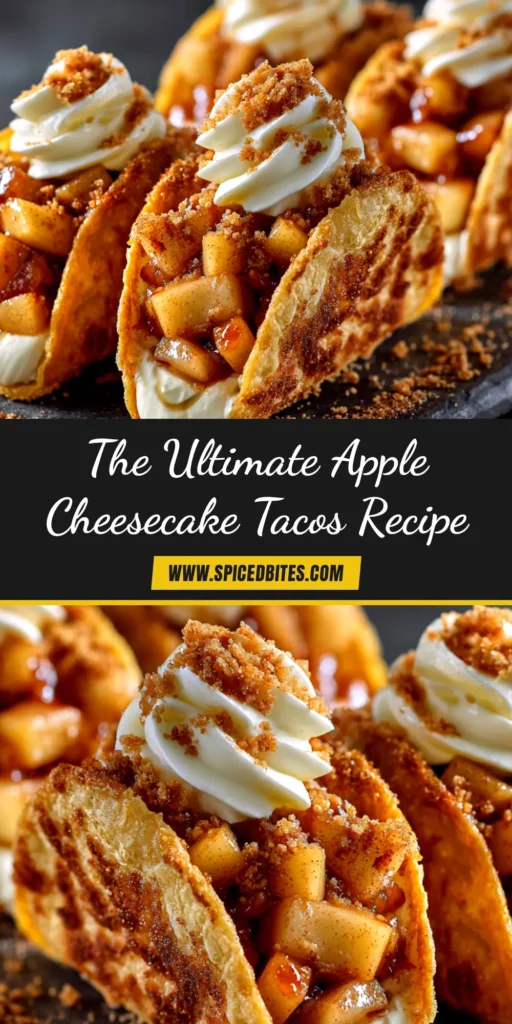
Get ready to discover your new favorite dessert: Apple Cheesecake Tacos! This recipe is a game-changing mashup of crispy, cinnamon-sugar tortilla shells filled with a creamy, no-bake cheesecake filling and topped with warm, gooey apple pie filling. It’s the perfect combination of textures and flavors—crisp, creamy, and comforting all in one bite. Whether you need a show-stopping dessert for a party or a fun treat for a family night, these dessert tacos are guaranteed to be a hit.
We’ve designed this recipe to be both incredibly delicious and easy to follow. You get all the flavor of a classic apple cheesecake but with a fun, handheld twist that everyone will love. Plus, it’s highly customizable, so you can make it your own!
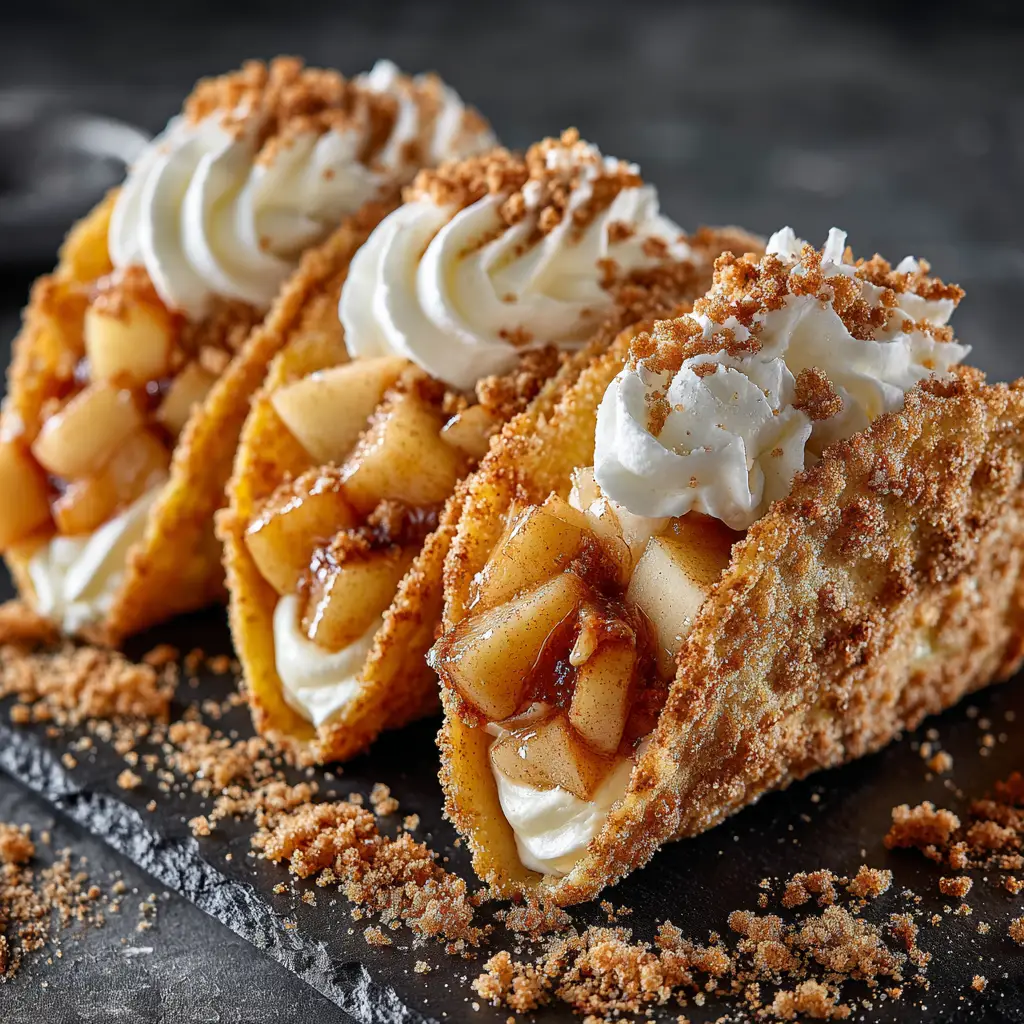
Why You’ll Love These Apple Cheesecake Tacos
- Unbelievably Delicious: The combination of warm cinnamon apples, cool cheesecake filling, and a crunchy shell is simply irresistible.
- Fun and Unique: Move over, regular tacos! This dessert version is a creative twist that will surprise and delight your guests.
- Easy to Make: With simple ingredients and straightforward steps, you can whip up these impressive tacos without any stress.
- Perfect for Any Occasion: From family gatherings and holiday parties to a special weeknight treat, these tacos fit any event.
Ingredients You’ll Need
This recipe uses simple, easy-to-find ingredients. Here’s what you’ll need to gather.
For the Cinnamon Sugar Tortilla Shells:
- Flour Tortillas: Small, 6-inch tortillas work best for the perfect taco shape.
- Melted Butter: This helps the cinnamon sugar stick and makes the tortillas extra crispy.
- Granulated Sugar & Cinnamon: The classic combination for that irresistible churro-like coating.
For the No-Bake Cheesecake Filling:
- Cream Cheese: Use a full-fat block, softened to room temperature for a smooth, lump-free filling.
- Powdered Sugar: Sweetens the filling while keeping it silky smooth.
- Vanilla Extract: Adds a touch of warm, aromatic flavor.
- Heavy Cream: Whipped and folded in to make the filling light and airy. If you love no-bake fillings, you should also check out this simple No-Bake Grinch Pie.
For the Warm Apple Topping:
- Apple Pie Filling: You can use a can for a quick shortcut or make your own from scratch.
- Diced Apples: A crisp apple like a Granny Smith or Honeycrisp adds great texture.
- Brown Sugar & Cinnamon: Enhances the warm, spiced apple flavor.
- A Pinch of Nutmeg: Adds a classic, cozy spice note.

How to Make Apple Cheesecake Tacos: A Step-by-Step Guide
Follow these simple steps to create the most amazing dessert tacos you’ve ever had.
Step 1: Make the No-Bake Cheesecake Filling
In a large bowl, use a hand mixer to beat the softened cream cheese until it’s smooth and creamy. Gradually add the powdered sugar and vanilla extract, mixing until fully combined. In a separate bowl, whip the heavy cream until stiff peaks form. Gently fold the whipped cream into the cream cheese mixture until just combined. Cover and refrigerate the filling for at least 30 minutes to firm up.
Step 2: Prepare the Apple Filling
If using canned apple pie filling, simply warm it in a small saucepan over medium-low heat. If you’re adding fresh apples, dice them and cook them with a tablespoon of butter, brown sugar, and cinnamon until tender before stirring them into the canned filling. Keep the filling warm while you prepare the shells.
Step 3: Make the Crispy Taco Shells
Preheat your oven to 375°F (190°C). Mix the granulated sugar and cinnamon in a shallow dish. Brush both sides of each flour tortilla with melted butter, then dredge them in the cinnamon-sugar mixture, ensuring they are evenly coated. To form the taco shape, drape the tortillas over two rungs of your oven rack. Bake for 7-10 minutes, or until they are golden brown and crispy. Let them cool completely on the rack.
Step 4: Assemble Your Dessert Tacos
Once the shells are cool, it’s time to assemble your Apple Cheesecake Tacos! Transfer the cheesecake filling to a piping bag (or use a spoon) and pipe a generous amount into each crispy shell. Top with a spoonful of the warm apple filling. For an extra decadent touch, drizzle with caramel sauce and add a dollop of whipped cream.
Pro Tips for Perfect Dessert Tacos
- Don’t Overfill the Shells: Be generous, but leave enough room for the toppings to avoid a mess.
- Serve Immediately: These tacos are best enjoyed right after assembly to ensure the shells stay crispy.
- Soften Cream Cheese Properly: Let the cream cheese sit at room temperature for at least an hour for the smoothest filling.
- Watch Tortillas Closely: They can go from golden to burnt quickly, so keep a close eye on them while they’re in the oven.
Fun Variations to Try
While the classic recipe is a winner, feel free to get creative! For another apple-and-cheesecake-inspired treat, give our caramel apple cheesecake bars a try. Here are a few other ideas:
- Caramel Drizzle: A generous drizzle of caramel sauce takes these tacos to the next level.
- Nut Topping: Add a sprinkle of chopped pecans or walnuts for extra crunch.
- Different Fruits: Try this recipe with cherry pie filling, peaches, or even a berry compote.
- Chocolate Lover’s Twist: Drizzle with chocolate sauce and add a few mini chocolate chips. For a similar fun dessert, try these Cheesecake Crescent Rolls.
Storing and Make-Ahead Tips
These Apple Cheesecake Tacos are best served fresh, but you can prepare the components ahead of time. Store the baked tortilla shells in an airtight container at room temperature for up to 2 days. The cheesecake filling can be made a day in advance and kept in the refrigerator. The apple filling can also be refrigerated for up to 3 days. When you’re ready to serve, simply warm the apple filling and assemble the tacos.
Frequently Asked Questions
Absolutely! This recipe is designed for baking the tortillas, which is an easier and less messy method. Simply drape the buttered and cinnamon-sugared tortillas over your oven rack and bake until crisp.
Yes, you can prepare the components separately in advance. Store the crispy shells in an airtight container at room temperature, and keep the cheesecake and apple fillings in the fridge. Assemble just before serving for the best results.
Yes, an air fryer works great for making crispy shells. Preheat it to 350°F (175°C), place the prepared tortillas in the basket (you may need a taco holder to keep the shape), and air fry for 4-6 minutes until golden and crisp.
Leftovers can be stored in an airtight container in the refrigerator for up to 24 hours. Please note that the tortilla shells will soften over time, so they are best enjoyed fresh.
Granny Smith apples are a great choice because their tartness balances the sweetness of the other ingredients. Honeycrisp or Braeburn apples also work well as they hold their shape and have a great flavor when cooked.
More Delicious Desserts to Try

Apple Cheesecake Tacos: The Ultimate Dessert Mashup
Equipment
- 1 Oven
- 1 Hand mixer
- 2 Mixing Bowls
Ingredients
For the Cinnamon Sugar Tortilla Shells
- 8 small flour tortillas (6-inch)
- 4 tbsp butter, melted
- 1/2 cup granulated sugar
- 1 tsp ground cinnamon
For the No-Bake Cheesecake Filling
- 8 oz cream cheese, softened
- 1/2 cup powdered sugar
- 1 tsp vanilla extract
- 1/2 cup heavy cream
For the Warm Apple Topping
- 1 can (21 oz) apple pie filling Or use homemade
- 1 tsp cinnamon
- 1/4 tsp nutmeg
Instructions
- In a large bowl, beat softened cream cheese with a hand mixer until smooth. Add powdered sugar and vanilla, mixing until combined. In a separate bowl, whip heavy cream to stiff peaks. Gently fold the whipped cream into the cream cheese mixture. Refrigerate for at least 30 minutes.
- Warm the apple pie filling in a small saucepan over medium-low heat. Stir in the cinnamon and nutmeg. Keep warm.
- Preheat oven to 375°F (190°C). Mix granulated sugar and cinnamon in a shallow dish. Brush both sides of each tortilla with melted butter, then dredge in the cinnamon-sugar. Drape the tortillas over two rungs of the oven rack to create a taco shell shape. Bake for 7-10 minutes until golden and crisp. Let cool completely.
- Pipe or spoon the cheesecake filling into the cooled taco shells. Top with the warm apple filling. Serve immediately.
Notes
Make-Ahead: The components can be made in advance. Store shells in an airtight container at room temperature and fillings in the refrigerator. Assemble just before serving for the best texture.
Share Your Creation!
We are so excited for you to try this amazing Apple Cheesecake Tacos recipe! It’s a dessert that’s sure to bring smiles to everyone’s faces. If you make it, we’d love to see it! Share a photo on Pinterest and tag us. Your feedback helps us and inspires other home cooks. Happy cooking!