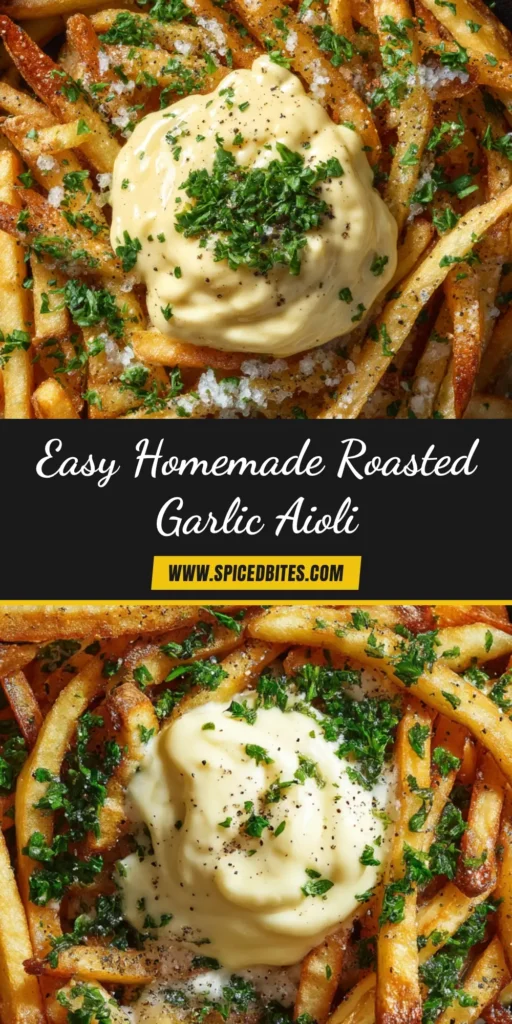
Welcome to the ultimate guide to creating the most flavorful Roasted Garlic Aioli you’ve ever tasted. If you’re looking to elevate your sandwiches, fries, or grilled vegetables, you’ve found the secret weapon. This recipe transforms simple ingredients into a rich, creamy, and deeply savory sauce that is leagues beyond anything you can buy in a store. The magic is in roasting the garlic, which mellows its sharp bite into a sweet, caramelized flavor that is simply irresistible.
Forget complicated techniques. We’re making this easy, foolproof, and absolutely delicious. Let’s get started!
What Makes This Roasted Garlic Aioli So Irresistible?
The star of the show is, of course, the roasted garlic. Unlike raw garlic, which can be harsh and overpowering, roasting coaxes out a nutty sweetness that provides incredible depth of flavor. When blended with creamy mayonnaise, a touch of tangy lemon juice, and a hint of Dijon, the result is a perfectly balanced, velvety smooth aioli. It’s a versatile condiment that you’ll find yourself putting on everything.

The Simple Ingredients You’ll Need
You only need a handful of pantry staples to create this luxurious sauce. Simplicity is key to letting the star ingredient shine.
- Whole Garlic Head: This is the foundation of our recipe. One full head will roast down into a soft, sweet paste.
- Olive Oil: Used to help caramelize the garlic as it roasts and adds to the classic aioli flavor.
- Mayonnaise: We use high-quality mayonnaise as a base for a foolproof, creamy texture.
- Lemon Juice: Freshly squeezed lemon juice is essential for cutting through the richness and adding a bright, tangy finish.
- Dijon Mustard: This adds a subtle, complex tang that complements the other ingredients perfectly.
- Salt and Black Pepper: To taste, for enhancing all the flavors.
How to Make Roasted Garlic Aioli: A Step-by-Step Guide
Making this aioli is a simple two-part process: roasting the garlic to perfection and then blending everything together into a creamy sauce. Follow these steps for guaranteed success.
Step 1: Roasting the Garlic
This first step is crucial for developing the deep, sweet flavor that defines this aioli. Preheat your oven to 400°F (200°C). Slice the top quarter-inch off the head of garlic to expose the tops of the cloves. Place the garlic head on a small piece of aluminum foil, drizzle it generously with olive oil, and sprinkle with a pinch of salt. Wrap the garlic snugly in the foil and bake for 30-40 minutes. The garlic is ready when the cloves are soft, fragrant, and lightly golden. Let it cool slightly before squeezing the soft cloves out of their skins.
Step 2: Combining the Ingredients
Once the garlic is roasted and cooled, the rest is easy. In a food processor or the cup of an immersion blender, combine the roasted garlic cloves, mayonnaise, lemon juice, Dijon mustard, salt, and pepper. Blend until the mixture is completely smooth and creamy. Taste and adjust seasoning if necessary. That’s it! Your delicious homemade aioli is ready to serve.

Tips for the Perfect Creamy Texture
While this recipe is incredibly simple, a few tips can ensure you get the best possible result every time.
- Use Quality Mayonnaise: Since it’s the base of our aioli, using a high-quality, full-fat mayonnaise will yield the creamiest and most flavorful result.
- Don’t Skimp on Blending: Make sure to blend the mixture thoroughly until there are no lumps of garlic remaining. An immersion blender or a small food processor works best for this.
- Let it Chill: For the best flavor and texture, let the aioli chill in the refrigerator for at least 30 minutes before serving. This allows the flavors to meld together.
What to Serve with Your Homemade Aioli
The possibilities are nearly endless! This Roasted Garlic Aioli is the perfect companion to so many dishes. Here are a few of our favorite uses:
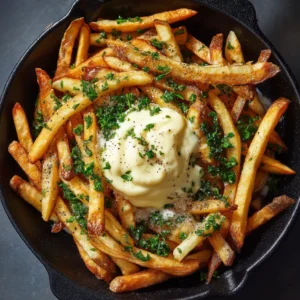
- As a dipping sauce for French fries, sweet potato fries, or crispy Garlic Parmesan Fries.
- Spread generously on a Turkey Apple Cheddar Sandwich or with these amazing Bacon Wrapped Grilled Cheese sandwiches.
- As a dip for roasted vegetables, like asparagus, broccoli, or Brussels sprouts.
- Dolloped onto grilled chicken, steak, or fish.
- As the ultimate sauce for burgers or a delicious side for a classic meatloaf.
Storing Your Roasted Garlic Aioli
Store your homemade aioli in an airtight container in the refrigerator. Because it’s made with fresh ingredients, it’s best consumed within one week. Trust us, it’s so delicious it likely won’t last that long!
Frequently Asked Questions
Absolutely! While a food processor or immersion blender is fastest, you can make it by hand. Finely mince the roasted garlic into a paste, then vigorously whisk it with the other ingredients in a bowl until smooth and emulsified.
When stored properly in an airtight container in the refrigerator, your homemade aioli will stay fresh and delicious for up to one week.
The best and easiest method is to slice the top off a whole head of garlic, drizzle it with olive oil, wrap it in foil, and bake at 400°F (200°C) for 30-40 minutes until the cloves are completely soft, fragrant, and lightly caramelized.
Traditionally, aioli is a simple emulsion of garlic and olive oil, created by pounding them together. Modern aioli, like this Roasted Garlic Aioli recipe, is often mayonnaise-based, which provides a shortcut to a stable, creamy texture while delivering incredible flavor.
Thin aioli is usually a problem when making it from scratch by emulsifying oil into eggs. The beauty of this recipe is that by using mayonnaise as a base, you are guaranteed a thick, creamy, and stable aioli every time without the risk of it breaking.
My Go-To Roasted Garlic Aioli Recipe
Roasted Garlic Aioli: The Ultimate Creamy, Dreamy Dip
Equipment
- 1 Food Processor or Immersion Blender
- 1 Aluminum foil
Ingredients
- 1 head Garlic Whole head
- 1 tablespoon Olive Oil Extra virgin
- 1 cup Mayonnaise High-quality, full-fat recommended
- 2 teaspoons Lemon Juice Freshly squeezed
- 1 teaspoon Dijon Mustard
- 1/4 teaspoon Salt Or to taste
- 1/4 teaspoon Black Pepper Freshly ground, or to taste
Instructions
- Preheat oven to 400°F (200°C).
- Slice the top quarter-inch off the head of garlic to expose the cloves.
- Place the garlic on a piece of aluminum foil. Drizzle with olive oil and sprinkle with a pinch of salt.
- Wrap the garlic tightly in the foil and bake for 30-40 minutes, until the cloves are soft, fragrant, and caramelized.
- Allow the garlic to cool for a few minutes until it's safe to handle. Squeeze the soft, roasted cloves out of their skins into a small bowl.
- In a food processor or with an immersion blender, combine the roasted garlic cloves, mayonnaise, lemon juice, Dijon mustard, salt, and pepper.
- Blend until completely smooth and creamy. Scrape down the sides as needed.
- Taste and adjust seasoning with more salt, pepper, or lemon juice if desired.
- Transfer to a serving bowl. For best results, chill for at least 30 minutes before serving to allow flavors to meld.
Notes
Storage: Store the aioli in an airtight container in the refrigerator for up to one week.
Pin This Easy Aioli Recipe!
If you loved this recipe, don’t forget to save it for later! Pin the image below to your favorite sauce or appetizer board on Pinterest. Your friends will thank you!