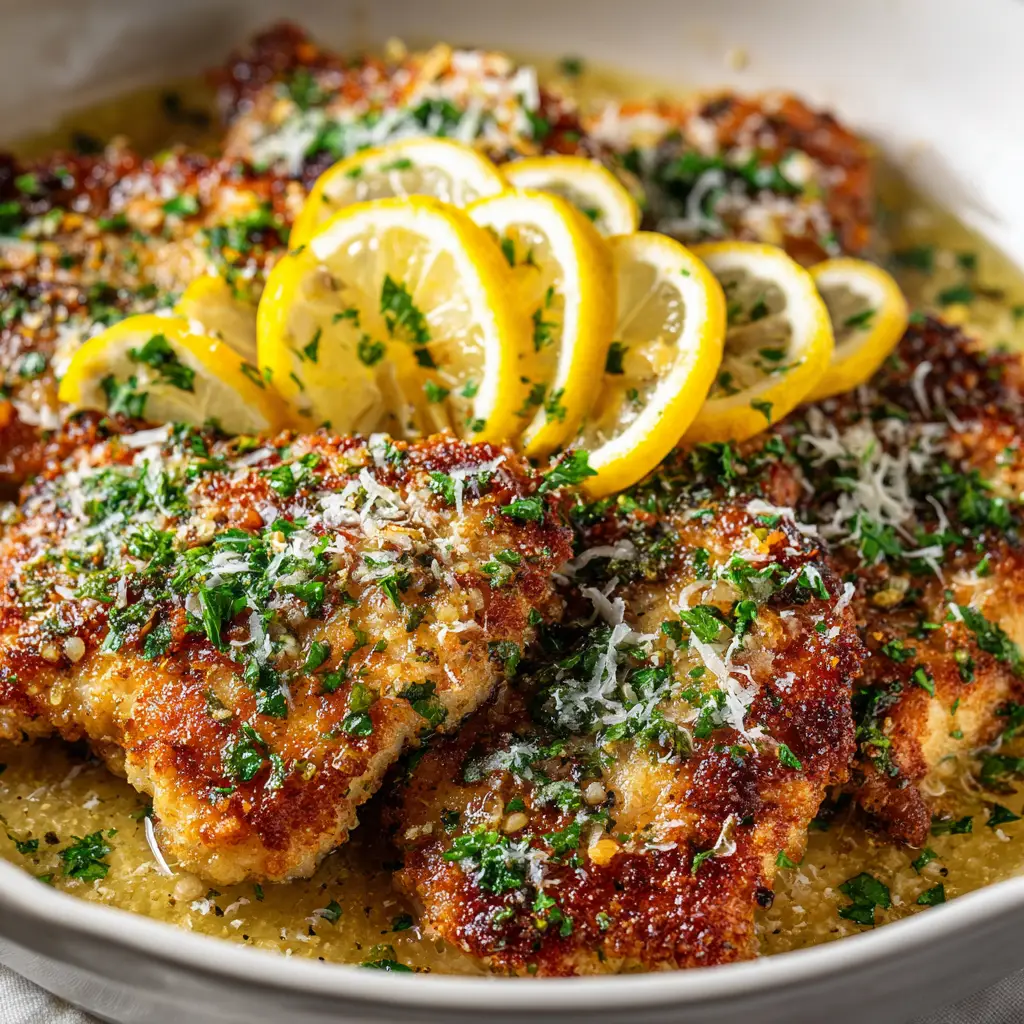
Get ready to fall in love with this Lemon Chicken Romano recipe. It features perfectly tender chicken cutlets coated in a savory Romano and Parmesan cheese crust, pan-fried to a flawless golden brown. A vibrant lemon butter sauce smothers each piece, creating a dish that’s bursting with bright, zesty flavor. This simple yet elegant meal is easy enough for a busy weeknight but tastes like it came straight from a high-end Italian restaurant.
What Makes This Lemon Chicken Romano So Good?
This isn’t just another chicken recipe; it’s a culinary experience. The magic lies in the balance of textures and flavors. The egg and cheese coating creates a uniquely crispy, savory crust that keeps the chicken incredibly moist and juicy inside. Unlike heavier breaded chicken, this coating is light yet packed with flavor. The final touch—a simple pan sauce made with butter, fresh lemon juice, and white wine—cuts through the richness and brightens every single bite.
Key Ingredients You’ll Need
The beauty of this dish is its simplicity. You only need a handful of quality ingredients to create this restaurant-worthy Lemon Chicken Romano.
- Chicken Cutlets: Thinly sliced chicken breasts are key. You can buy them pre-sliced or pound regular chicken breasts to an even thickness yourself. This ensures the chicken cooks quickly and evenly.
- Romano and Parmesan Cheese: We use a blend of Pecorino Romano and Parmesan. Romano offers a sharp, salty punch, while Parmesan brings a nutty, more subtle flavor. Always use freshly grated cheese for the best melt and flavor.
- Eggs: This acts as the binder, helping the cheese mixture adhere to the chicken to form that signature crust.
- All-Purpose Flour: A light dredge in flour before the egg wash helps everything stick together perfectly.
- Lemon: Fresh lemon juice is non-negotiable for the sauce. Its bright acidity is the star of the show.
- Butter and Olive Oil: We use a combination for frying. The oil prevents the butter from burning, while the butter adds unbeatable flavor and helps achieve that gorgeous golden-brown color.
- Dry White Wine: A splash of something like a Pinot Grigio or Sauvignon Blanc deglazes the pan and adds a wonderful depth of flavor to the sauce. You can substitute with chicken broth if you prefer.
How to Make The Perfect Lemon Chicken Romano
Follow these simple steps, and you’ll have a stunning meal on the table in under 40 minutes. It’s all about the technique.
Step 1: Prepare the Chicken
First, pat your chicken cutlets dry with a paper towel. This is a crucial step to ensure the coating sticks well. Season both sides generously with salt and pepper. Set up a simple dredging station with three shallow dishes. Place the flour in the first, the beaten eggs in the second, and the combined Romano and Parmesan cheeses in the third.
Step 2: Create the Romano Breading
Working with one chicken cutlet at a time, lightly coat it in the flour, shaking off any excess. Next, dip it into the egg wash, allowing the excess to drip off. Finally, press the chicken firmly into the cheese mixture, ensuring it’s completely coated on both sides.

Step 3: Pan-Fry to Golden Perfection
Heat the butter and olive oil in a large skillet over medium-high heat. Once the butter is melted and foaming, carefully place the coated chicken in the skillet. Be sure not to overcrowd the pan; cook in batches if necessary. Fry for about 3-4 minutes per side, until the crust is a deep golden brown and the chicken is cooked through. Transfer the cooked chicken to a wire rack to keep it crispy.
Step 4: Make the Lemon Butter Sauce
After all the chicken is cooked, reduce the skillet heat to medium. Add the white wine (or chicken broth) to the pan to deglaze, scraping up any browned bits from the bottom. Let it simmer and reduce for a minute. Stir in the butter and fresh lemon juice. Continue to cook, stirring constantly, until the sauce thickens slightly. To finish, pour this delicious lemon butter sauce over the crispy chicken and garnish with fresh parsley.
Tips for the Best Results
Want to make sure your Lemon Chicken Romano is absolutely perfect? Here are a few pro tips:
- Don’t Skip Pounding the Chicken: Even thickness is the secret to juicy, evenly cooked chicken. Aim for about 1/4-inch thick.
- Use Freshly Grated Cheese: Pre-shredded cheeses contain anti-caking agents that prevent them from melting smoothly and forming a cohesive crust. Grate your own for the best results.
- Maintain Pan Temperature: If the pan is too hot, the crust will burn before the chicken cooks. If it’s too cool, the chicken will absorb too much oil and become soggy. Medium-high is the sweet spot.
- Serve Immediately: This dish is best enjoyed fresh out of the skillet when the crust is at its crispiest.
What to Serve with Your Chicken Romano
This versatile main course pairs beautifully with a variety of sides. For a classic Italian-American meal, serve it over a bed of angel hair pasta or with a side of creamy garlic parmesan orzo. It’s also fantastic with a simple green salad, steamed asparagus, or some sautéed leeks. For soaking up every last drop of that incredible lemon butter sauce, you can’t go wrong with some crusty no-knead rosemary garlic bread.
Storage and Reheating Instructions
While Lemon Chicken Romano is best served fresh, you can store leftovers in an airtight container in the refrigerator for up to 3 days. To reheat and maintain some of the crispiness, we recommend using an air fryer or a conventional oven. Place the chicken in a single layer and heat at 375°F (190°C) for about 5-8 minutes, until warmed through.
Frequently Asked Questions
Yes, you can make this gluten-free by substituting the all-purpose flour with a gluten-free all-purpose blend. The rest of the ingredients are naturally gluten-free.
Yes, you can use all Parmesan if that’s what you have. However, Pecorino Romano cheese gives the dish its signature sharp, salty flavor. We recommend using a blend of both for the best taste.
To ensure the coating sticks, make sure you pat the chicken completely dry before dredging, press the cheese mixture firmly onto the chicken, and avoid moving the cutlets too much once they are in the hot pan.
For the best results, reheat it in an air fryer or oven at 375°F (190°C) for 5-8 minutes. This helps to re-crisp the crust. Microwaving is not recommended as it will make the coating soggy.
The main difference is the coating and the sauce. Chicken Romano is coated in an egg and cheese batter, creating a crispy crust. Chicken Piccata has a simple flour dredge and is known for its sauce made with lemon, butter, and capers.
Enjoy This Delicious Dinner!
We know this Lemon Chicken Romano will become a new favorite in your dinner rotation. It’s a dish that proves simple ingredients can create something truly special. If you try this recipe, please leave a comment below and let us know how it turned out! We love hearing from you. For more delicious recipe inspiration, be sure to follow us on Pinterest!
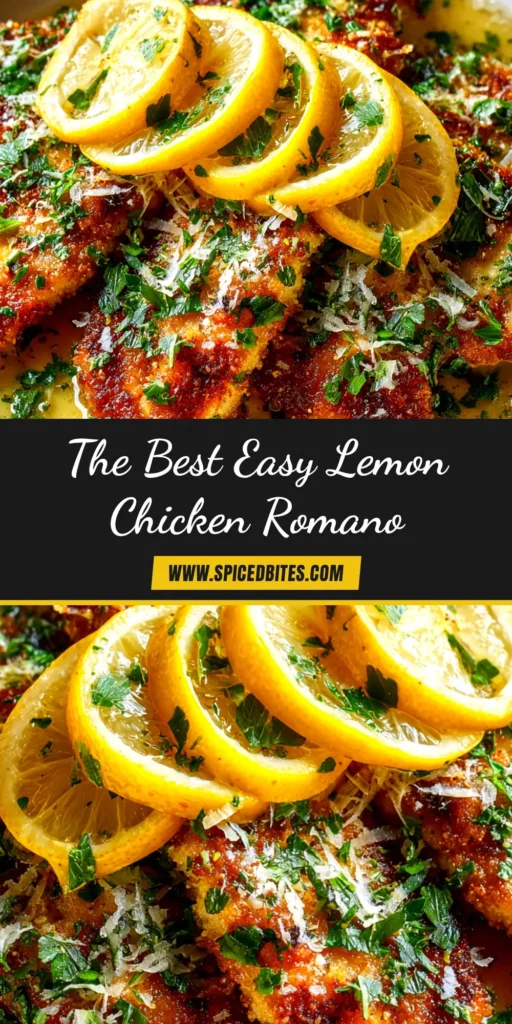
Lemon Chicken Romano Recipe

Lemon Chicken Romano: Crispy, Juicy, and Easy
Equipment
- 1 Large skillet
- 3 Shallow Dishes (for dredging)
- 1 Tongs
Ingredients
- 4 thinly sliced chicken breasts (about 1.5 lbs) pounded to 1/4-inch thickness
- 1/2 cup all-purpose flour
- 2 large eggs beaten
- 1/2 cup grated Pecorino Romano cheese freshly grated
- 1/2 cup grated Parmesan cheese freshly grated
- 1 tsp salt or to taste
- 1/2 tsp black pepper freshly ground
- 2 tbsp olive oil
- 2 tbsp unsalted butter
- 4 tbsp unsalted butter cubed
- 1/4 cup dry white wine like Pinot Grigio, or substitute chicken broth
- 1/4 cup fresh lemon juice from 1-2 lemons
- 2 tbsp fresh parsley chopped, for garnish
Instructions
- Pat the chicken cutlets dry and season both sides with salt and pepper.
- Set up three shallow dishes. Place the flour in the first, the beaten eggs in the second, and the combined Romano and Parmesan cheeses in the third.
- Working one at a time, dredge a chicken cutlet in flour, then dip in the egg wash, and finally press firmly into the cheese mixture to coat completely.
- Heat olive oil and 2 tbsp of butter in a large skillet over medium-high heat. Once hot, add the chicken in a single layer (work in batches if needed).
- Fry for 3-4 minutes per side, until the crust is golden brown and the chicken is cooked through (165°F). Transfer to a wire rack.
- Reduce heat to medium. Add the white wine to the skillet to deglaze, scraping up any browned bits. Simmer for about 1 minute.
- Stir in the remaining 4 tbsp of butter and the lemon juice. Cook, stirring, until the sauce is slightly thickened.
- Serve the chicken immediately, spooning the warm lemon butter sauce over the top and garnishing with fresh parsley.
Notes
Using freshly grated cheese is essential; pre-shredded varieties won't create the same kind of crust.
Don't overcrowd the pan when frying, as it will lower the oil temperature and result in a less crispy finish.


