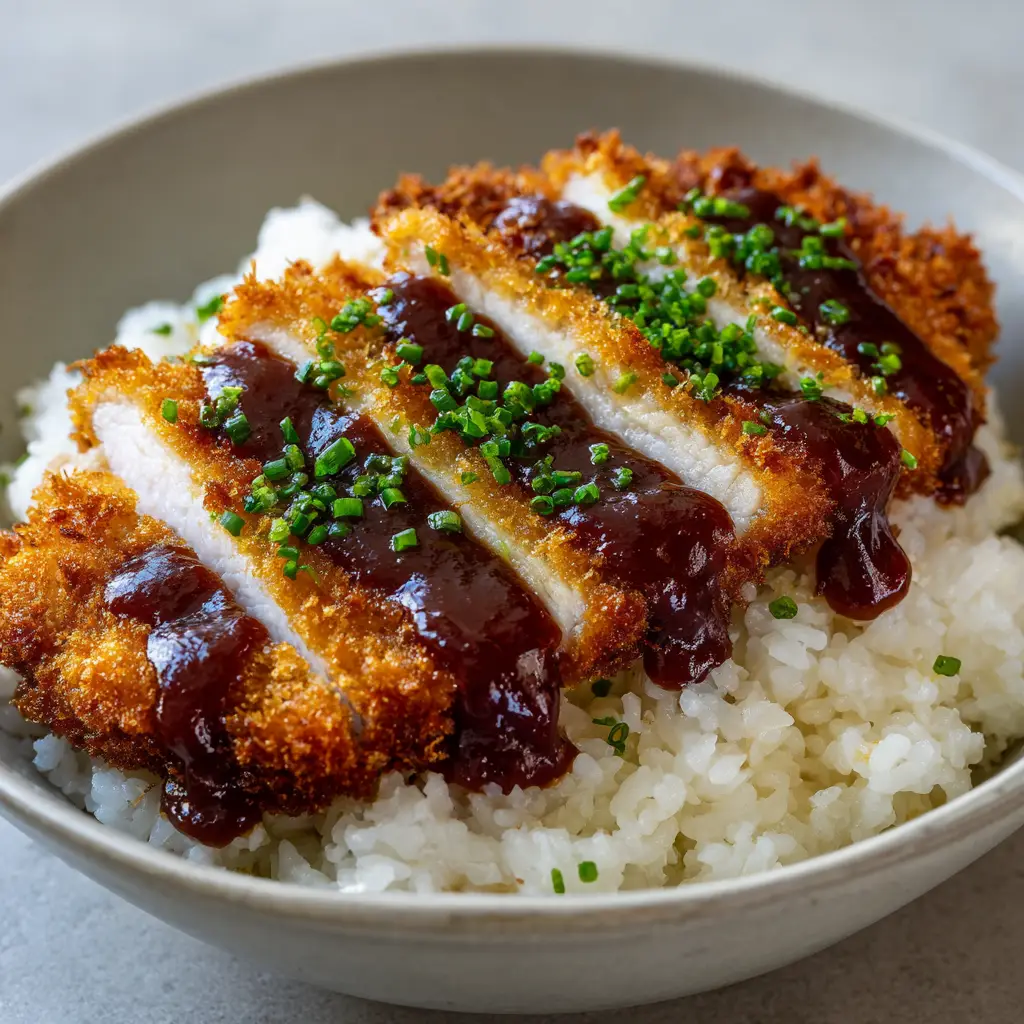
There is a specific sensory magic that happens when you set a bowl of Japanese Katsu Bowls on the table. The steam rising from a bed of fluffy white rice carries the aroma of savory fried panko, while the dark, glossy Tonkatsu sauce promises a deep umami punch. It is a dish defined by its textures: the shattering crispness of the breaded pork against the tender, juicy meat inside.
In this guide, we are recreating the exact restaurant-quality experience you see in professional food photography. We are talking about thick-cut pork, fried to a precise golden-brown, sliced into even strips, and finished with that iconic zigzag of sauce. Whether you are a seasoned home cook or looking for a new weeknight staple, these bowls provide the ultimate comfort food experience.
Why These Crispy Pork Rice Bowls Are the Ultimate Comfort Food
- Unmatched Texture: The use of coarse panko breadcrumbs creates a visibly rough and crunchy exterior that holds its integrity even under a generous drizzle of sauce.
- Balanced Flavor Profile: The neutral, fluffy short-grain rice acts as the perfect canvas for the salty-sweet richness of the dark brown Tonkatsu sauce.
- Visual Precision: Every element, from the vibrant green of the finely chopped chives to the golden hue of the pork, is designed to be as visually appetizing as it is delicious.
- Culinary Science: We utilize a specific three-stage breading process to ensure the panko adheres perfectly and never flakes off during frying.
If you love the satisfaction of a well-constructed meal in a bowl, you might also enjoy our high-protein cheeseburger bowls for a different take on the format. However, today, we are focusing on the Japanese art of the perfect fry.
The Essential Components for a Signature Golden Panko Crust
To achieve the visual result described in our blueprint, every ingredient must serve a specific structural or flavor purpose. Here is what you will need for your Japanese Katsu Bowls.
Boneless Pork Loin Chops: Use chops about 1 inch (2.5cm) thick. This thickness allows the meat to remain tender and white inside while the exterior reaches a deep golden-brown.
Short-Grain White Rice: 1.5 cups (300g) of dry rice. Specifically look for Japanese short-grain rice, which provides the necessary stickiness and “fluff” to support the heavy cutlet.
Panko Breadcrumbs: 2 cups (120g). Unlike standard breadcrumbs, panko consists of large, airy flakes that create that signature “rough” texture seen in our visual guide.
Tonkatsu Sauce: 1/2 cup (120ml). This dark brown, glossy condiment is the soul of the dish. It should be thick enough to hold a zigzag pattern without running off the pork immediately.
Fresh Chives: 1 small bunch. Finely chopped fresh green chives provide a sharp, colorful contrast to the neutral tones of the bowl and the rich brown of the sauce.
Foundational Coating: 1/2 cup (60g) all-purpose flour and 2 large eggs. These act as the “glue” that keeps your panko shell attached to the meat during the high-heat frying process.
Neutral Frying Oil: 2-3 cups (480-710ml) of vegetable or canola oil. You need an oil with a high smoke point to achieve that deep-fried perfection without any burnt aftertaste.
Specialized Tools for Professional Results
While you can make this in a standard kitchen, a few specific tools will help you match the visual accuracy of our blueprint. A heavy-bottomed Dutch oven or a deep cast-iron skillet is ideal for maintaining a consistent oil temperature. Consistency is the key to that uniform golden-brown color.
A wire cooling rack is also essential. Placing the fried pork directly on a plate causes steam to build up underneath, softening the panko. To keep the bottom as crunchy as the top, the pork must rest on a rack for at least 2 minutes before slicing. Finally, a sharp chef’s knife is required to get those clean, even strips that reveal the juicy white meat inside.
If you enjoy using specialized techniques for international flavors, you should definitely check out our creamy garlic chicken ramen for your next Japanese-inspired kitchen adventure.
Mastering the Art of the Deep-Fried Katsu Cutlet
Preparing the Rice Foundation
Start by rinsing your 1.5 cups (300g) of short-grain rice under cold water until the water runs clear. This removes excess starch, ensuring the rice is fluffy and distinct rather than gummy. Cook with 1.75 cups (420ml) of water in a rice cooker or covered pot. Once cooked, let it steam undisturbed for 10 minutes to reach the perfect texture for your Japanese Katsu Bowls.
The Triple-Dredge Breading Station
Season your pork chops generously with salt and pepper. Set up three shallow bowls: one with flour, one with beaten eggs, and one with the panko. Press the pork firmly into the panko at the final stage to ensure every nook and cranny is covered. This is the secret to the visibly rough, crunchy texture that defines a world-class katsu.

Achieving the Perfect Golden-Brown Sizzle
Heat your oil to 350°F (175°C). Carefully lower the pork into the oil. You should hear an immediate, vigorous sizzling sound. Fry for 4-5 minutes per side. Look for the visual cue of “shirting”—when the edges turn a deep amber and the panko looks toasted and rigid. The meat inside should reach an internal temperature of 145°F (63°C).
The Final Assembly and Garnish
Place a generous scoop of the fluffy white rice into a light gray ceramic bowl. Slice the rested pork into thick, even strips and fan them out across the rice. Drizzle the dark brown tonkatsu sauce in a slow, steady zigzag pattern. Finally, scatter the finely chopped chives across the top for that final pop of freshness.
Expert Tips for the Ultimate Crunch
- The Temperature Trap: If your oil is too cold, the panko will absorb the oil and become greasy. If it is too hot, the outside will burn before the pork is cooked through. Use a thermometer!
- Press for Success: When breading, don’t just toss the pork in the panko. Use the palm of your hand to physically press the flakes into the meat.
- The Rest Period: Let the pork rest for 3-5 minutes before slicing. This allows the juices to redistribute, ensuring the meat stays white and tender rather than dry.
- Sauce Control: For the most aesthetic zigzag, put your sauce into a small squeeze bottle or a plastic bag with a tiny corner snipped off.
For more comfort food inspiration that uses similar frying techniques, our pizza sliders offer a different kind of satisfying crunch that the whole family will love.
Preserving the Texture: Storage and Reheating
Japanese Katsu Bowls are best enjoyed immediately to experience the maximum contrast between the hot, crunchy pork and the soft rice. However, if you have leftovers, store the pork and rice in separate airtight containers in the refrigerator for up to 3 days.
To reheat and restore the crunch, avoid the microwave for the pork. Instead, place the cutlet in an air fryer or oven at 375°F (190°C) for 5-7 minutes. The rice can be reheated in the microwave with a damp paper towel placed over it to restore its fluffiness.
What to Serve with Your Katsu Bowls
While these bowls are a complete meal on their own, they pair beautifully with a simple shredded cabbage salad dressed in toasted sesame oil and rice vinegar. The acidity of the salad cuts through the richness of the fried pork perfectly.
If you’re looking to expand your menu of savory, protein-forward dishes, you might consider pairing this with a side of ginger soy fish for a multi-course seafood and pork feast. Or, if you want something heartier on the side, our baked Italian angel chicken offers a creamy contrast to the fried textures here.
Frequently Asked Questions
Yes, you can air fry the pork at 400°F (200°C) for 12-15 minutes. However, for the authentic ‘rough and crunchy’ texture seen in the photos, traditional deep-frying provides the best results.
The key is the flour dredge. Make sure the pork is patted dry before dipping in flour, and press the panko firmly into the egg-washed meat to create a strong bond.
It is a thick, dark brown sauce that tastes like a Japanese version of BBQ sauce—tangy, sweet, and full of umami from fruits, vegetables, and soy sauce.
Boneless pork loin is the standard for Katsu. It is lean enough to slice beautifully into even strips while remaining juicy when fried correctly.
Short-grain rice has a higher starch content, giving it a sticky texture that allows it to hold up under the weight of the pork cutlet and the heavy sauce.
The Ultimate Japanese Katsu Bowls Recipe
Japanese Katsu Bowls: The Secret to Achieving the Perfect Golden Crunch
Equipment
- 1 Heavy-bottomed Dutch oven or skillet For consistent oil temperature.
- 1 Wire cooling rack Prevents the bottom from getting soggy.
- 1 Meat thermometer Ensures pork is safely cooked to 145°F.
Ingredients
Main Recipe Ingredients
- 1.5 cups Short-grain Japanese rice 300g
- 1.75 cups Water 420ml
- 4 items Boneless pork loin chops approx. 1 inch (2.5cm) thick
- 1/2 cup All-purpose flour 60g
- 2 large Eggs beaten
- 2 cups Panko breadcrumbs 120g
- 2 cups Neutral frying oil 480ml
- 1/2 cup Tonkatsu sauce 120ml
- 2 tbsp Fresh chives finely chopped
Instructions
Prepare the Rice
- Rinse the short-grain rice under cold water until clear. Combine rice and water in a pot, bring to a boil, then simmer covered for 15 minutes. Let it steam for 10 minutes off the heat.
Prepare the Pork
- Season pork with salt and pepper. Dredge each chop in flour, dip in beaten eggs, and then press firmly into the panko breadcrumbs until completely coated with a thick, rough texture.
- Heat oil to 350°F (175°C) in a deep skillet. Fry pork for 4-5 minutes per side until the exterior is a deep golden-brown and the internal temperature reaches 145°F (63°C).
- Transfer the fried pork to a wire rack to rest for 3-5 minutes. Slice into thick, even strips.
Assembly
- Fill bowls with a bed of fluffy white rice. Layer the sliced pork strips on top. Drizzle with dark brown tonkatsu sauce in a zigzag pattern and garnish with chopped chives.
Notes
For the best visual sauce pattern, use a squeeze bottle.
Bring the Japanese Steakhouse Experience Home
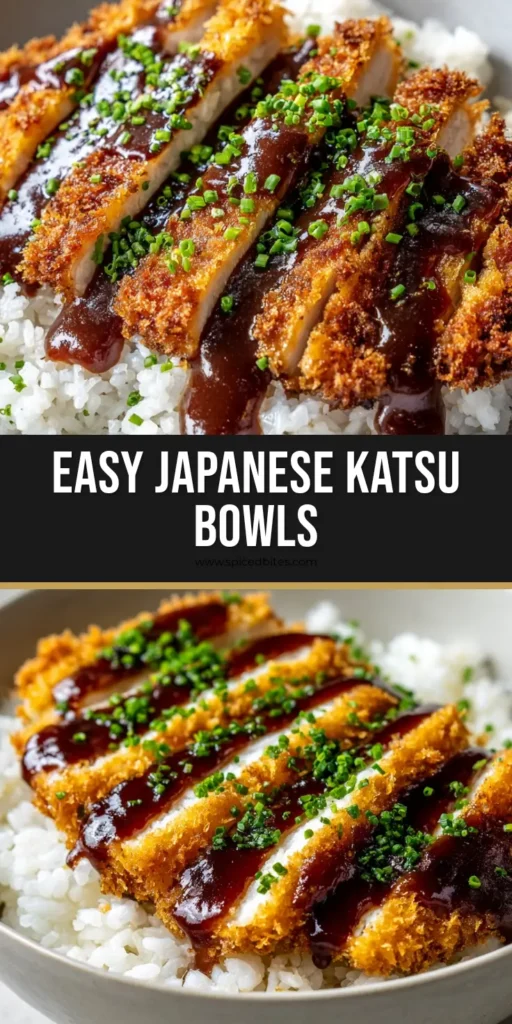
Creating professional-quality Japanese Katsu Bowls is all about attention to detail—from the way you press the panko into the pork to the precision of your sauce drizzle. The result is a visually stunning, incredibly satisfying meal that hits every flavor and texture note. We hope this becomes a new favorite in your dinner rotation!
Did you make this recipe? We would love to hear how it turned out! Leave a comment below and share your photos with us. Don’t forget to pin this recipe to your favorite food boards on Pinterest so you can find it whenever the craving for a crunchy tonkatsu bowl strikes!