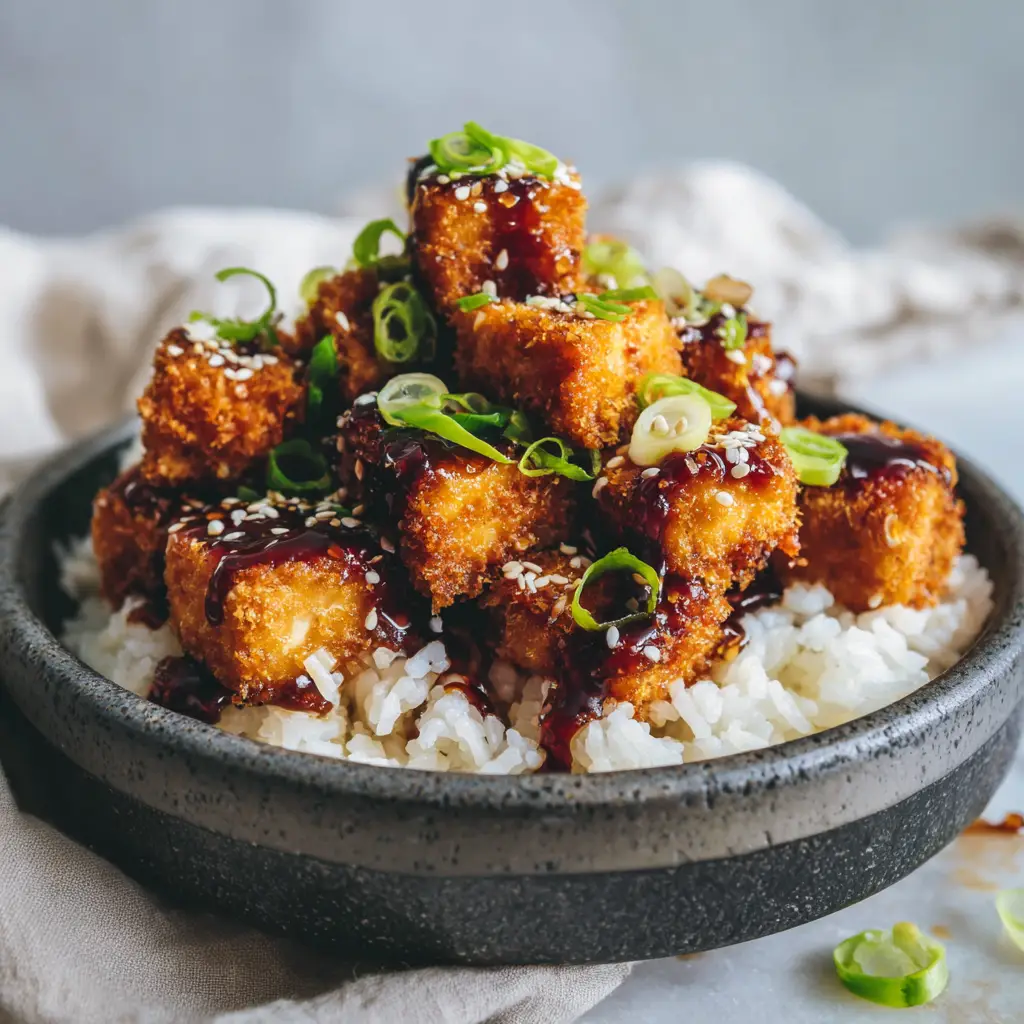
There is a specific, undeniable magic in the perfect bite of Crispy Honey Garlic Tofu. It is a dish defined by contrasts: the audible crunch of a golden-brown crust giving way to a tender interior, all enveloped in a thick, dark amber glaze that clings to every crevice. If you have ever struggled with soggy, bland tofu, this recipe is the culinary correction you have been waiting for. We are moving past the basic stir-fry and into the realm of high-heat precision and balanced flavor profiles.
Inspired by the macro visuals of deep-fried perfection, this dish isn’t just about taste; it’s about the architectural integrity of the tofu cube. Imagine bite-sized pieces piled high in a rustic stoneware bowl, nestled against a bed of steaming white rice. The honey garlic sauce isn’t just a liquid; it is a glossy, viscous nectar that pools slightly at the bottom, catching the light and promising a punch of umami. Every element, from the toasted sesame seeds to the bright green scallion rings, serves a purpose in this textural masterpiece.
Why This Crispy Honey Garlic Tofu Technique Outperforms the Rest
- The “Double-Starch” Shatter-Crisp: Unlike heavy batters, our cornstarch-based coating creates an uneven, craggy surface that traps more sauce while maintaining a deafening crunch.
- Dark Amber Viscosity: We don’t settle for watery sauces; this glaze is reduced until it reaches a thick, honey-like consistency that coats the tofu like a lacquered finish.
- Scientific Moisture Control: By utilizing specific pressing techniques, we ensure the tofu protein is dense enough to withstand deep frying without losing its structural soul.
- Visual Garnish Strategy: The contrast between the dark, glossy cubes and the vibrant, fresh green scallions provides a professional, restaurant-quality presentation every time.
The Anatomy of Ingredients: Choosing the Right Components
To achieve the result seen in professional food photography, every ingredient must be selected for its scientific properties as much as its flavor. Here is what you need for the most successful Crispy Honey Garlic Tofu of your life.
Extra-Firm Tofu (1 lb / 450g): This is non-negotiable. Soft or silken tofu will disintegrate in the fryer; extra-firm provides the structural density required for deep frying.
Cornstarch (1/2 cup / 64g): This is the secret to the “uneven breading.” Cornstarch creates a thin, brittle layer that browns beautifully and reacts with the oil to form those coveted charred edges.
Neutral High-Smoke Point Oil (2 cups / 480ml): Use vegetable, canola, or grapeseed oil. You need a fat that can reach 375°F (190°C) without smoking to ensure the tofu fries rather than soaks up grease.
Raw Clover Honey (1/3 cup / 113g): Honey provides the base for our dark amber glaze and creates the sticky, glossy texture that “pools” at the bottom of the bowl.
Fresh Garlic (6 cloves, minced): We aren’t just flavoring the sauce; we are creating a texture. The minced garlic bits become slightly toasted in the sauce, adding depth and a rustic feel.
Low-Sodium Soy Sauce (1/4 cup / 60ml): This provides the salt and the deep color. Using low-sodium allows us to reduce the sauce significantly without it becoming an “osmotically aggressive” salt bomb.
Rice Vinegar (1 tbsp / 15ml): Acidity is the “invisible ingredient” that cuts through the sugar of the honey and the richness of the fried tofu, balancing the palate.
Toasted Sesame Oil (1 tsp / 5ml): Added at the very end, this oil provides the aromatic top note that characterizes high-end Asian-inspired cuisine like our classic ginger soy fish.
Essential Gear for Deep-Fried Success
Achieving a professional-grade fry requires more than just a pan. To get that macro-photography look, you need tools that manage heat and moisture effectively.
First, a heavy-bottomed cast iron skillet or a Dutch oven is superior for frying. These vessels hold heat steadily, preventing the oil temperature from plunging when the tofu is added. A digital instant-read thermometer is your best friend here; if your oil is too cold, the tofu becomes a sponge; if it’s too hot, the breading burns before the honey garlic sauce can even touch it.
You will also need a “spider” strainer or a slotted spoon. This allows you to lift the tofu cubes out while letting excess oil drain back into the pot immediately. Finally, a small saucepan is necessary for the glaze, allowing you to control the reduction process separately from the frying phase.
Mastering the Crunch: Step-by-Step Instructions
Phase 1: The Critical Moisture Extraction
Open your tofu and drain the liquid. Wrap the block in a clean lint-free towel or several layers of paper towels. Place a heavy object (like a cast-iron pan) on top for at least 20 minutes. This process removes the internal water that would otherwise turn to steam and ruin your “shatter-crisp” crust.
Phase 2: Cubing and Coating for Texture
Slice the pressed tofu into 1-inch (2.5cm) bite-sized cubes. In a large bowl, toss the cubes with the cornstarch, a pinch of kosher salt, and white pepper. Ensure each cube is fully coated; the “uneven breading” effect is achieved by letting the starch sit for a minute until it looks slightly “tacky” before frying.

Phase 3: The Deep Fry Technique
Heat your oil to exactly 375°F (190°C). Carefully drop the tofu cubes in batches—do not crowd the pan! Fry for 5-7 minutes. Look for the visual cue: the tofu should be a deep golden-brown with darker, charred edges. Listen for the sound: the bubbling should slow down as the moisture evaporates. Remove and drain on a wire rack (not paper towels, which cause steaming!).
Phase 4: Engineering the Honey Garlic Glaze
In a saucepan over medium heat, sauté the minced garlic in a teaspoon of oil until fragrant but not browned. Whisk in the honey, soy sauce, and rice vinegar. Bring to a simmer. The sauce will transition from a thin liquid to a thick, dark amber syrup. It should be viscous enough to coat the back of a spoon—this is the secret to that “thick, glossy” look in the bowl.
Phase 5: The Final Assembly
In a large mixing bowl, pour the warm glaze over the crispy tofu cubes. Toss gently but quickly. You want every cube coated in that amber nectar. Immediately transfer the tofu to a bowl of fluffy, steamed white rice. Much like our protein-packed bowls, the base is essential for catching the extra sauce.
Expert Tips for Visual and Flavor Precision
- The Temperature Spike: After the first batch of tofu, wait for the oil to return to 375°F (190°C). Frying in “tired” oil is the #1 cause of soggy tofu.
- Cornstarch vs. Flour: Never use flour for this recipe. Flour creates a “bready” texture, whereas cornstarch creates the thin, crisp glass-like shell seen in the prompts.
- The Scallion Snap: Slice your green onions and immediately place them in a bowl of ice water. This makes them curl and stay “bright green” for that perfect garnish contrast.
- Glaze Timing: Only toss the tofu in the sauce immediately before serving. Even the crispest tofu will eventually soften if left to sit in moisture for too long.
Advanced Flavor Pairings and Side Dishes
While this Crispy Honey Garlic Tofu is a powerhouse on its own, it benefits from complementary textures. The fluffy white rice is the standard, but you could also serve this alongside garlic-forward ramen for a fusion feast. If you are looking for a lighter option, a simple cucumber salad with rice vinegar and chili flakes provides a cooling counterpoint to the rich, deep-fried tofu and sticky honey sauce.
For those who enjoy a bit of heat, adding a teaspoon of red chili flakes to the glaze during the simmering stage will transform the “Honey Garlic” into a “Spicy Honey Garlic” profile without losing the glossy amber aesthetic.
Storage, Reheating, and Meal Prep
Crispy tofu is best enjoyed immediately. However, if you have leftovers, store the tofu and rice in airtight containers for up to 3 days. To revive the crunch, do not use a microwave! Reheat the tofu in an air fryer at 375°F (190°C) for 4-5 minutes, or in a dry skillet over medium-high heat until the exterior sizzles again.
For meal prep enthusiasts, you can press and cube the tofu in advance. Store the uncoated cubes in the fridge. When ready to eat, simply starch and fry. This ensures the freshest texture possible.
Common Questions About Crispy Tofu
Yes, you can air fry at 400°F (200°C) for 15-20 minutes, shaking halfway through. However, for the exact ‘uneven, deep-brown breading’ seen in the photos, deep frying in neutral oil provides the most authentic result.
Absolutely. You can substitute the honey with agave nectar or maple syrup. Note that maple syrup is thinner, so you may need to simmer the glaze longer to achieve the same thick, glossy texture.
Yes. Pressing removes internal moisture. If you skip this, the steam inside the tofu will push outward during frying, preventing a truly crispy shell from forming.
The key is reduction. Simmer the sauce over medium heat until the water content evaporates, leaving a viscous, dark amber syrup. If it’s still too thin, a small cornstarch slurry (1 tsp cornstarch + 1 tsp water) can be whisked in.
Tofu is porous. If you let it sit in the sauce, it will absorb moisture and soften. To prevent this, toss the tofu in the glaze immediately before serving and ensure the sauce has been reduced to a thick consistency.
The Perfect Crispy Honey Garlic Tofu Recipe Card
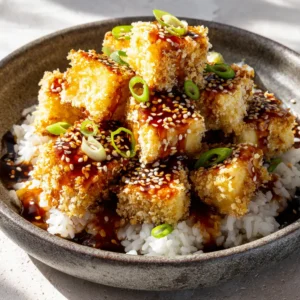
Crispy Honey Garlic Tofu: The Ultimate Better-Than-Takeout Guide
Equipment
- 1 Cast Iron Skillet or Dutch Oven For deep frying
- 1 Small saucepan For the honey garlic glaze
- 1 Digital Instant-Read Thermometer To monitor oil temperature
Ingredients
The Crispy Tofu
- 1 lb Extra-Firm Tofu Pressed for 20 minutes (450g)
- 1/2 cup Cornstarch For coating (64g)
- 2 cups Vegetable Oil For deep frying (480ml)
Honey Garlic Glaze
- 1/3 cup Clover Honey 113g
- 6 cloves Garlic Minced
- 1/4 cup Low-Sodium Soy Sauce 60ml
- 1 tbsp Rice Vinegar 15ml
Instructions
Preparation
- Wrap tofu in towels and place a heavy weight on top for 20 minutes to remove excess moisture.
- Cube the tofu and toss in cornstarch until a craggy, uneven coating forms on all sides.
Cooking
- Heat oil to 375°F (190°C). Fry tofu in batches for 5-7 minutes until golden-brown and charred on edges.
- In a separate pan, combine garlic, honey, soy sauce, and vinegar. Simmer until it becomes a thick, dark amber syrup.
- Toss fried tofu in the glaze and serve immediately over steamed rice with sesame seeds and scallions.
Notes
Do not toss tofu in sauce until the very last second to preserve the crunch.
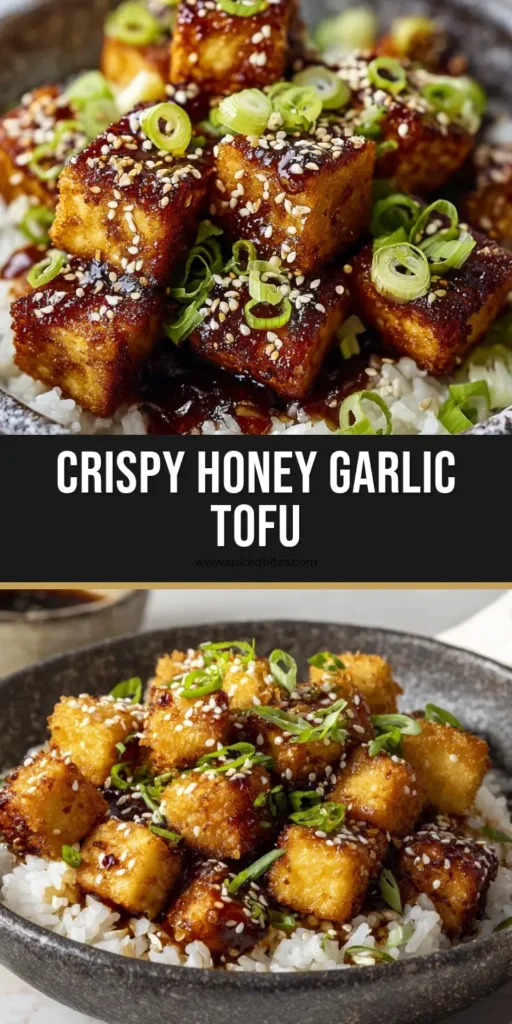
Join the Spiced Bites Culinary Community
Creating this Crispy Honey Garlic Tofu is a journey into the science of texture and the balance of sweet and savory. We hope this guide helps you achieve that elusive “takeout-style” crunch in your own kitchen! If you loved this recipe, please leave a comment below and let us know how your glaze turned out. Don’t forget to sign up for our newsletter for more deep-dive culinary guides.
Want to save this for later? Pin this recipe to your favorite dinner board on Pinterest and share your creations with us using #SpicedBites!
Looking for more comforting dinner ideas? Check out our Texas Roadhouse Smothered Chicken or dive into a bowl of Jalapeno Popper Chicken Soup for your next meal!