Ever wonder how to create a stunning Charcuterie Board that looks like it came straight from a gourmet magazine? You’re in the right place. Crafting a beautiful and delicious meat and cheese board is easier than you think. It’s the perfect centerpiece for any gathering, from casual get-togethers to elegant parties. This guide will walk you through every step, ensuring you can build the perfect spread with confidence.
A well-made charcuterie board is an experience. It’s a feast for the eyes and the palate, offering a delightful variety of flavors and textures that invites guests to gather, graze, and connect. Forget complicated recipes; this is all about assembly, creativity, and celebrating good food.
What is a Charcuterie Board?
Traditionally, “charcuterie” (shar-koo-tuh-ree) is a French term for the art of preparing and assembling cured meats. However, the modern Charcuterie Board has evolved into a bountiful spread that includes a variety of cheeses, crackers, fruits, nuts, and spreads. It’s a versatile appetizer that can be customized to fit any taste or occasion, making it a universal crowd-pleaser.
The Core Components of an Unforgettable Charcuterie Board
The key to a great board is balance. You want a mix of flavors (sweet, savory, salty, tangy) and textures (creamy, crunchy, soft, firm). Think of it as painting with food. Here are the essential building blocks for your masterpiece.
The Cheeses: A Mix of Textures and Flavors
Aim for variety. A good rule of thumb is to include three to four different kinds of cheese, focusing on a mix of hardness and flavor profiles.
- Soft Cheese: Creamy and spreadable. Think Brie, Camembert, or fresh goat cheese (chèvre).
- Semi-Hard Cheese: Crowd-pleasers that are easy to slice. Think aged Cheddar, Gouda, or a firm Gruyère.
- Hard Cheese: Salty and complex. Think Parmesan, Asiago, or Manchego. Break it into rustic chunks.
- Blue Cheese: Bold and pungent. A little goes a long way. Think Gorgonzola or Roquefort.
The Meats: Cured and Savory
Select two to three cured meats. Slice them thinly to make them easy for guests to pick up.
- Prosciutto: A salty, delicate Italian ham.
- Salami: Comes in many varieties, from spicy soppressata to fennel-infused finocchiona.
- Chorizo: A spicy Spanish sausage that adds a pop of color and heat.
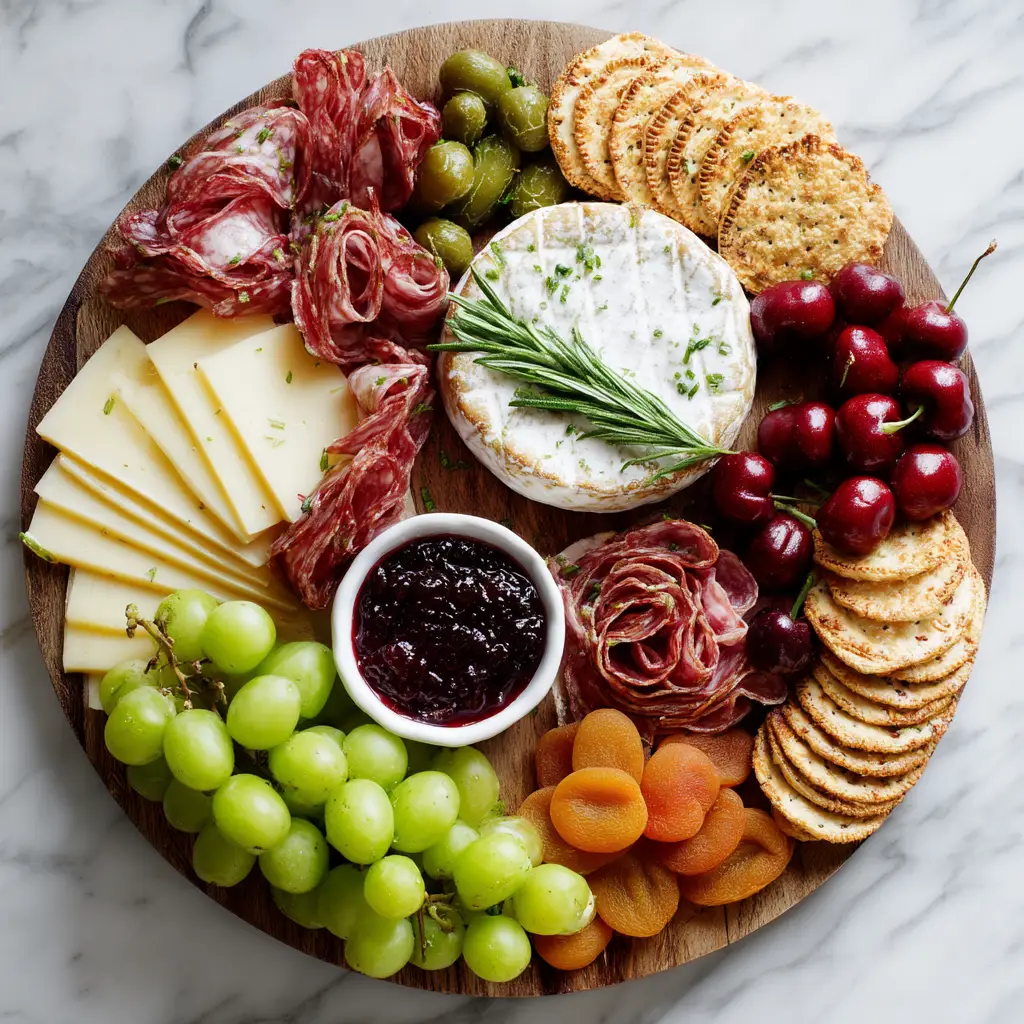
The Vehicles: Crackers and Breads
You need a neutral base to carry all those delicious toppings. Offer a couple of options with different shapes and textures.
- Crackers: Buttery crackers, seeded crisps, or simple water crackers are all great choices.
- Bread: A sliced baguette, either fresh or lightly toasted, is always a winner.
The Accompaniments: Sweet and Savory
This is where you can truly customize your board and add pops of color and flavor.
- Sweet: Fresh fruits like grapes, berries, and fig halves. Dried fruits like apricots or dates. Spreads like fig jam, honey, or blackberry jam.
- Savory & Briny: Olives, cornichons (tiny pickles), or pickled onions. Spreads like Dijon mustard or an olive tapenade.
- Crunchy: Toasted nuts like almonds, walnuts, or pecans.
How to Build Your Charcuterie Board: A Step-by-Step Guide
Now for the fun part: assembly. Follow these simple steps to create a visually stunning Charcuterie Board that looks professionally crafted. This is one of our favorite methods for an abundant, inviting final product.
- Choose Your Board: Start with a large wooden board, slate tile, or marble slab. This is your canvas.
- Place Your Bowls: Before adding anything else, place small bowls on the board. These will hold your jams, honey, olives, and anything else that might roll around. Placing these first anchors your design.
- Add The Cheeses: Arrange your cheeses around the board. Cut a few slices or chunks from each block to make it more inviting. This signals to guests that it’s okay to dig in!
- Arrange The Meats: Now, add the charcuterie. You can fold larger slices like salami into rosettes, drape prosciutto in loose piles, or neatly fan out slices of chorizo. This adds visual interest and height.
- Create a “River” of Crackers: Instead of placing crackers in a single pile, weave them in lines and curves around the other ingredients. This “river” effect helps lead the eye across the board and makes it look fuller. If you enjoy making bread, you can’t go wrong with our New York Style Bagel Recipe sliced into bite-sized pieces.
- Fill in the Gaps: Use your smaller items like fruits, nuts, and berries to fill in every remaining empty space. This is the secret to an abundant, overflowing look. Nestle handfuls of almonds, tuck in clusters of grapes, and scatter berries.
- Garnish and Serve: For a final touch, add a few sprigs of fresh rosemary or thyme. This adds a pop of green and a lovely aroma. For a cozy weeknight meal after your appetizer, try our Creamy Garlic Chicken Scampi.

Pro Tips for a Show-Stopping Charcuterie Board
Want to take your meat and cheese board to the next level? Keep these simple tips in mind.
- Temperature Matters: Take your cheeses out of the refrigerator about 30 minutes before serving. This allows them to come to room temperature, which significantly enhances their flavor and texture.
- Play with Color: A great board is a colorful one. Use fruits, herbs, and even edible flowers to add vibrant pops of red, green, and purple.
- Don’t Overcrowd: While you want the board to look full, ensure guests can still easily pick out items without causing an avalanche. Leave just enough space to maneuver.
Frequently Asked Questions
The key is to fill in all the gaps. After placing your main items (bowls, cheese, meat), use smaller items like nuts, berries, and dried fruit to fill every empty space. Don’t be afraid to pile them high and let things overlap for that lush, overflowing look.
You can prepare the ingredients (slicing cheese, washing fruit) a day ahead. However, you should assemble the board no more than a few hours before serving to keep everything fresh. Keep it covered and refrigerated until about 30 minutes before your guests arrive.
The best approach is to offer variety. Include a soft cheese (like Brie or goat cheese), a semi-hard cheese (like aged Cheddar or Gouda), and a hard cheese (like Manchego or Parmesan). Adding a pungent blue cheese is also a great option for more adventurous palates.
The 3-3-3-3 rule is a popular guideline for building a balanced board. It suggests including: 3 types of cheese, 3 types of meat, 3 types of starches (like crackers or bread), and 3 types of accompaniments (like fruits, nuts, or jams).
A light-to-medium-bodied red wine like a Pinot Noir is very versatile and pairs well with most meats and cheeses. For white wine lovers, a crisp Sauvignon Blanc is an excellent choice as its acidity cuts through the richness of the cheese and cured meats.
Share Your Creations!
Building a Charcuterie Board is a creative and rewarding process. It’s perfect for any occasion and guaranteed to impress your guests. We hope this guide inspires you to create your own delicious masterpiece. When you do, snap a picture and share it with us on Pinterest. We can’t wait to see what you create!
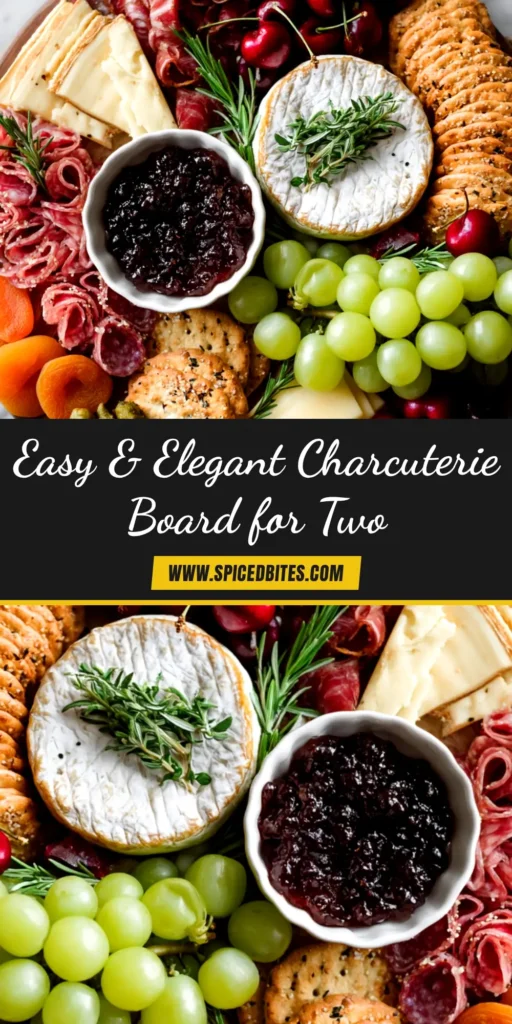
How to Make a Charcuterie Board
Charcuterie Board: How to Build the Perfect Spread
Equipment
- 1 Large wooden board or platter
- 3 Small bowls For jams, olives, and spreads
- 3 Cheese knives
Ingredients
Cheeses
- 4 oz Brie Soft cheese
- 4 oz Aged Cheddar Semi-hard cheese, sliced
- 4 oz Manchego Hard cheese, in chunks
Meats
- 3 oz Prosciutto Thinly sliced
- 3 oz Salami Folded or fanned
Vehicles
- 1 box Assorted crackers
- 1 Baguette Thinly sliced
Accompaniments
- 1 cup Red grapes
- 1/2 cup Mixed berries
- 1/4 cup Fig jam
- 1/4 cup Mixed olives
- 1/2 cup Toasted almonds
Garnish
- 2 sprigs Fresh rosemary For garnish
Instructions
- Start with your largest platter, wooden board, or slate. This will be the canvas for your creation.
- Place 2-3 small bowls on the board. Use these to hold items like jam, honey, or olives to contain them.
- Arrange the cheeses on the board, spacing them out. Pre-slicing or cubing some of the cheese makes it more approachable for guests.
- Add the meats. Create visual interest by folding salami into rosettes or draping prosciutto in loose piles.
- Weave crackers and bread slices in curving lines around the cheeses and meats to create a 'river' effect.
- Fill in all the empty spaces with fruits, nuts, and berries. This is the key to achieving a look of abundance.
- Garnish with fresh sprigs of rosemary or thyme for a final touch of green and a beautiful aroma.
Notes
Use a variety of colors and textures to make the board visually appealing.
Don't be afraid to let items touch and overlap for a rustic, abundant feel.


