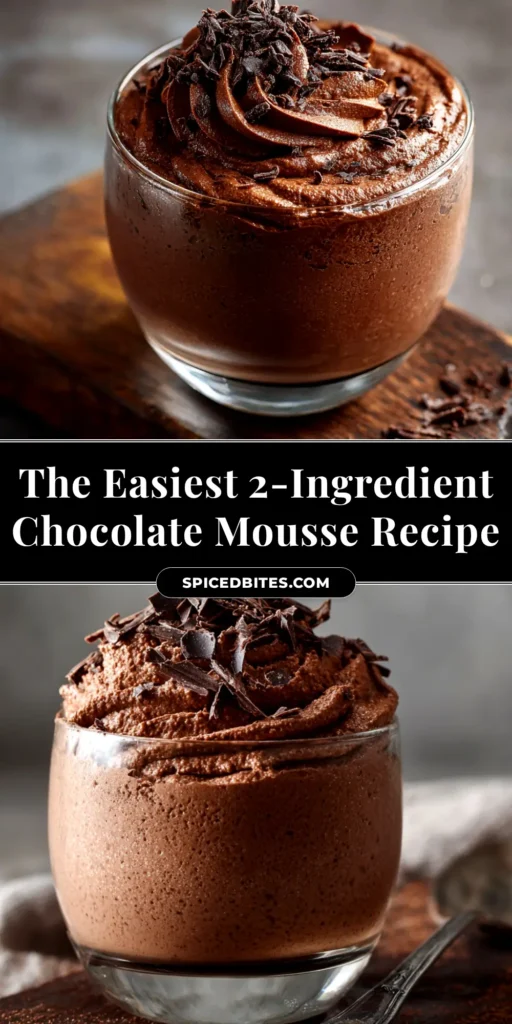
Welcome to what might be the simplest, most elegant dessert in your recipe arsenal. This 2-ingredient mousse is proof that you don’t need a long list of ingredients or complicated steps to create something truly decadent. With just high-quality chocolate and heavy cream, you can whip up a rich, airy, and utterly satisfying dessert in minutes. It’s the perfect solution for last-minute dinner parties, sudden sweet cravings, or whenever you need a little luxury without the fuss.
This recipe is a game-changer for busy weeknights and special occasions alike. Let’s dive into how you can make this incredibly simple and delicious treat.
Why You’ll Love This 2-Ingredient Mousse Recipe
If you’re looking for a dessert that delivers maximum flavor with minimal effort, you’ve found it. This recipe is a testament to the magic of simple, quality ingredients.
- Incredibly Easy: With just two ingredients and a few simple steps, even beginner cooks can achieve perfect results.
- Quick to Prepare: From start to chill, this mousse takes less than 20 minutes to prepare. It’s the ultimate fast dessert.
- Naturally Gluten-Free: This recipe is naturally gluten-free, making it a great option for those with dietary sensitivities.
- Endlessly Versatile: While perfect on its own, this mousse is a blank canvas for your favorite toppings and flavor variations.
What Are the Two Magic Ingredients?
The beauty of this 2-ingredient mousse lies in its simplicity. All you need are two powerhouse ingredients to create a dessert that tastes like it came from a fancy restaurant.
Choosing the Right Chocolate
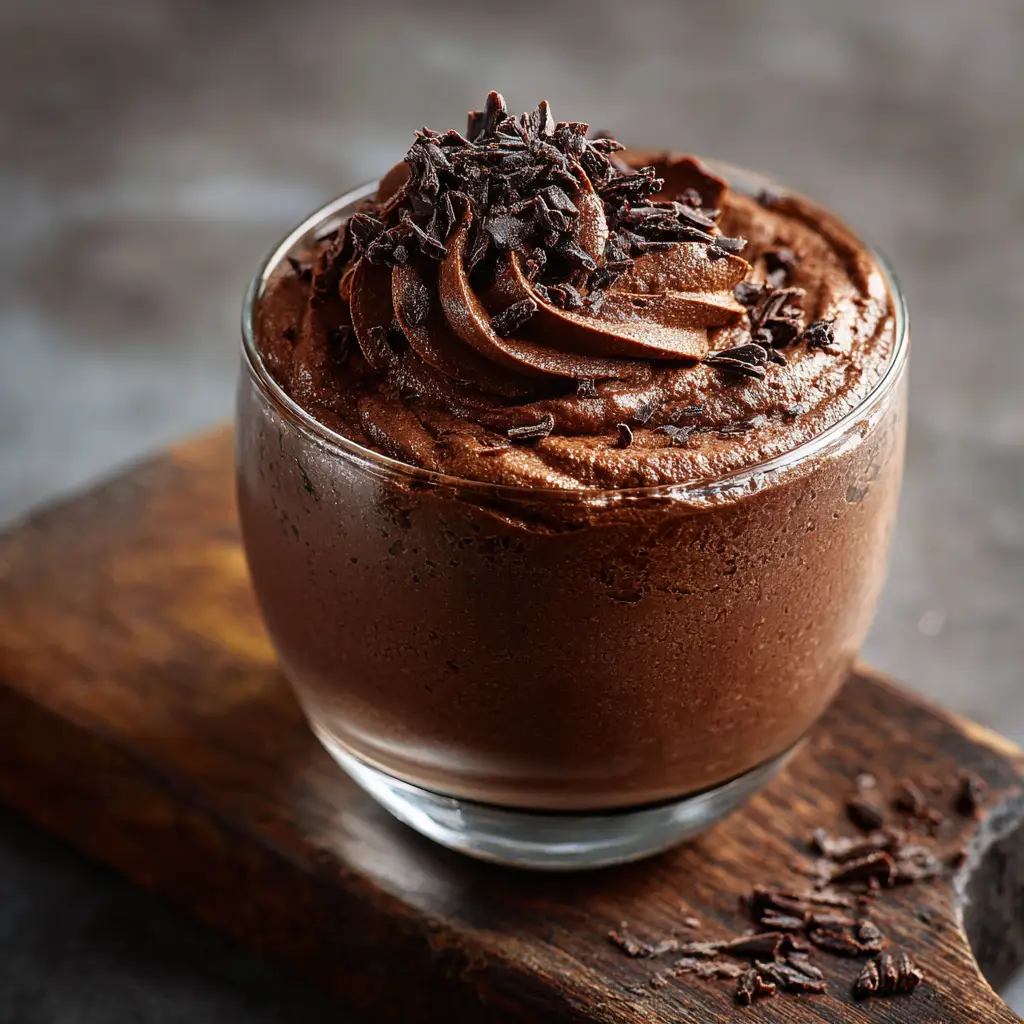
The star of the show is the chocolate, so quality matters. I recommend using a semi-sweet or bittersweet chocolate with a cacao percentage between 60% and 70%. This range provides a deep, rich flavor that isn’t overly sweet. Chocolate chips work well, but chopped chocolate bars often melt more smoothly.
The Importance of Cold Heavy Cream
Heavy whipping cream is the second key to this mousse. It must be very cold to whip into stable, stiff peaks. The cold temperature helps the fat globules in the cream trap air, which is what gives the mousse its light and airy texture. Do not substitute with half-and-half or milk, as they lack the necessary fat content to whip properly.
How to Make The Perfect 2-Ingredient Mousse
Ready to see how easy it is? Follow these simple steps for a flawless, creamy mousse every single time. For another incredibly simple dessert, check out this Microwave Brownie recipe.
2-Ingredient Mousse (The Easiest, Creamiest Chocolate Dessert)
Equipment
- 2 Mixing Bowls
- 1 Electric mixer or whisk
- 1 Spatula
Ingredients
- 6 oz semi-sweet or bittersweet chocolate finely chopped, 60-70% cacao
- 1 cup heavy whipping cream very cold
Instructions
- Place the chopped chocolate in a microwave-safe bowl. Microwave in 30-second intervals, stirring between each, until the chocolate is completely melted and smooth. Set aside to cool slightly for about 5-10 minutes.
- In a separate, chilled mixing bowl, pour in the cold heavy whipping cream. Using an electric mixer or a whisk, beat the cream on medium-high speed until it forms stiff peaks. Be careful not to over-whip.
- Gently fold about a third of the whipped cream into the cooled melted chocolate with a spatula. This lightens the chocolate. Then, add the rest of the whipped cream and continue to fold gently until just combined and no streaks remain. Do not stir, as this will deflate the mousse.
- Spoon the mousse into individual serving dishes. Chill in the refrigerator for at least 1 hour to set. Serve chilled, garnished with berries or chocolate shavings if desired.
Notes
For the best texture, use high-quality chocolate bars instead of chips, as they melt more smoothly.
Pro Tips for a Foolproof Mousse
While this recipe is simple, a few expert tips will ensure your mousse is perfect every time. Paying attention to these small details makes a huge difference in the final texture and flavor.
- Melt Chocolate Gently: Chocolate can burn easily. Melt it slowly in the microwave in short 30-second bursts, stirring in between, or use a double boiler over simmering water for the gentlest heating.
- Whip to Stiff Peaks: Under-whipping the cream will result in a runny mousse, while over-whipping can make it grainy. Whip until the cream holds a firm peak that doesn’t droop when you lift the beaters.
- Fold, Don’t Stir: When combining the whipped cream and melted chocolate, use a gentle folding motion with a spatula. This incorporates the ingredients without deflating the air you worked so hard to whip into the cream.
- Cool the Chocolate: Before folding it into the whipped cream, ensure your melted chocolate has cooled slightly. If it’s too hot, it will melt the cream and ruin the airy texture.

Fun Variations to Try
This simple 2-ingredient mousse is fantastic as is, but it’s also fun to customize. Think of it as a delicious starting point for your culinary creativity.
- Add a Flavor Extract: A teaspoon of vanilla extract, a hint of peppermint extract, or even a splash of orange extract can beautifully complement the chocolate.
- Incorporate Espresso Powder: A small amount of instant espresso powder dissolved into the melting chocolate will intensify the chocolate flavor without making it taste like coffee.
- A Pinch of Salt: A tiny pinch of flaky sea salt sprinkled on top just before serving can enhance the sweetness and complexity of the chocolate.
- Spicy Kick: For a modern twist, add a pinch of cinnamon or a tiny dash of cayenne pepper to the melted chocolate for a subtle warmth. Looking for another spicy-sweet treat? Try these Cheesy Jalapeno Shortbreads (coming soon).
Serving and Storage
Serve this mousse chilled in individual glasses or ramekins. It’s wonderful on its own or garnished with fresh berries, a dollop of whipped cream, or chocolate shavings. For an extra decadent touch, pair it with some Raspberry Brownies. Store any leftover mousse covered in the refrigerator for up to 3 days. The texture will become denser the longer it sits, but it will still be delicious.
Troubleshooting Common Mousse Mistakes
Even the simplest recipes can sometimes go awry. Here’s how to fix the most common issues with this easy chocolate mousse.
- Grainy Mousse: This usually happens for one of two reasons: either the chocolate was overheated, or it “seized” when combined with the cream. To prevent this, melt the chocolate gently and make sure your whipped cream isn’t excessively colder than the slightly cooled chocolate.
- Runny Mousse: A runny mousse is typically the result of under-whipped cream or over-mixing when folding the ingredients together. Ensure your cream is whipped to stiff peaks and use a gentle folding motion. If it’s still runny, a little more time in the refrigerator can help it set up further.
Frequently Asked Questions
This specific recipe relies on the fat and solids from a chocolate bar to set properly. Using cocoa powder would require a completely different recipe, likely with added sugar and a stabilizing agent like gelatin, so it is not a suitable substitute here.
Absolutely! This mousse is a perfect make-ahead dessert. You can prepare it and keep it chilled in the refrigerator for up to 2-3 days. The texture will become slightly denser over time, but it will remain delicious.
Yes, but you may need to adjust the ratios. Milk and white chocolate have different compositions and setting properties. They are sweeter and softer, so the mousse may be less firm. For best results, stick with dark or semi-sweet chocolate.
If your mousse is runny, it likely means the cream was not whipped to stiff peaks, or it was overmixed during the folding stage. Try chilling it in the refrigerator for a few hours, as it will firm up considerably as it gets colder.
For the best flavor and texture, use a high-quality semi-sweet or bittersweet chocolate bar with 60-70% cacao, finely chopped. Chocolate chips can also be used, but they sometimes contain stabilizers that affect melting.
A grainy texture usually happens if the melted chocolate was too hot when combined with the cold whipped cream, causing it to seize. To avoid this, let the melted chocolate cool to just slightly warm (lukewarm) before gently folding it into the cream.
Share Your Creation!
I hope you love this simple and delicious 2-ingredient mousse! It’s a recipe that proves great desserts don’t have to be complicated. If you make it, I would love to see! Please leave a comment below or share a picture on Pinterest. Your feedback and creations make my day!