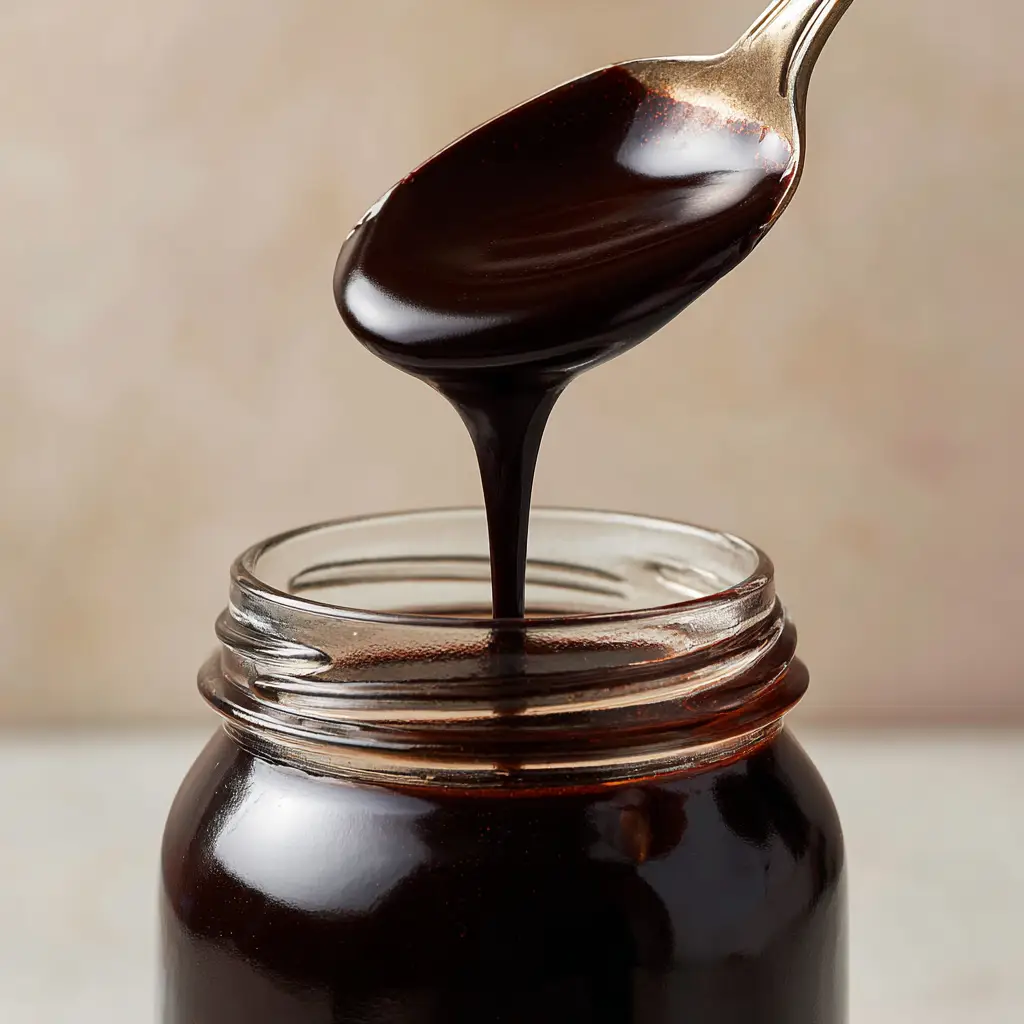
There is a profound culinary difference between the thin, factory-made liquids found in plastic squeeze bottles and a true, artisanal Homemade Chocolate Syrup. Imagine a substance so rich and dark it looks like liquid obsidian, cascading from a silver spoon in a heavy, unbroken ribbon. This isn’t just a topping; it is a fundamental building block for the home barista and the dessert enthusiast alike.
When you craft this Homemade Chocolate Syrup, you are controlling the viscosity and the depth of flavor that no commercial brand can replicate. By using high-quality Dutch-process cocoa and balancing the sweetness with a hint of sea salt, you create a glossy masterpiece that clings to your spoon and forms beautiful, velvety folds as it hits the jar.
This recipe is designed to produce that exact visual perfection: a thick, pourable texture that remains smooth even after refrigeration. Whether you are swirling it into a morning latte or drizzling it over a tender coconut ricotta cake, this syrup delivers a professional finish every single time.
Why This Silky Cocoa Drizzle Outshines the Rest
- Visually Stunning Gloss: Achieved through precise sugar saturation, ensuring a mirror-like finish that looks incredible in any glass jar.
- The Perfect Ribbon: We balance the solids and liquids to ensure the syrup falls in a continuous, heavy stream—perfect for food photography.
- Deep Dark Profile: By utilizing alkalized cocoa, we achieve a sophisticated dark hue that mimics melted dark chocolate.
- Zero Preservatives: A clean label recipe that relies on the science of simple syrup for shelf stability.
Essential Elements for the Ultimate Dark Syrup
To achieve the dark, glossy finish seen in our visual blueprint, we must select ingredients that offer both structural integrity and intense pigment. Every component serves a specific scientific purpose in the final emulsion.
Dutch-Process Cocoa Powder: 1 cup (100g). This cocoa is treated with an alkalizing agent, which results in a darker color and a smoother, less acidic flavor profile that is essential for that “dark chocolate” look.
Granulated White Sugar: 1.5 cups (300g). Sugar provides more than just sweetness; it is the primary thickener that creates the heavy body and the “pourable ribbon” texture.
Filtered Water: 1 cup (240ml). Water acts as the solvent, dissolving the sugar and cocoa solids to create a stable, pourable suspension.
Light Corn Syrup (Optional for Shine): 2 tbsp (30ml). This inverted sugar prevents crystallization, ensuring your syrup remains perfectly smooth and glossy even after weeks in the fridge.
Fine Sea Salt: 1/4 tsp (1.5g). Salt is a flavor enhancer that cuts through the sugar, highlighting the complex fruity and earthy notes of the cocoa beans.
Pure Vanilla Extract: 1 tbsp (15ml). Added at the end to preserve its delicate aromatics, vanilla provides a floral backnote that rounds out the chocolate intensity.
Professional Tools for a Flawless Finish
To reach the level of quality seen in our close-up photography, you will need a few standard kitchen tools. A heavy-bottomed saucepan is vital to prevent the sugar from scorching at the base.
A fine-mesh whisk is your best friend here, as it ensures every clump of cocoa is fully integrated into the liquid. To replicate the “silver spoon pour,” use a high-quality stainless steel spoon for testing the “nappe” (the ability of the liquid to coat the back of the spoon).
Finally, a wide-mouth clear glass jar is the ideal storage vessel. Not only does it make drizzling easier, but it also allows you to see the beautiful drips and the thick consistency of the Homemade Chocolate Syrup as it settles.
Step-By-Step Mastery for a Silky Ribbon Pour
1. Combining the Dry Base
In your cold saucepan, whisk together the Dutch-process cocoa, granulated sugar, and sea salt. By mixing the dry ingredients first, you surround the cocoa particles with sugar, which prevents the cocoa from clumping when the liquid is added.
2. The Slow Hydration
Slowly pour the 1 cup (240ml) of water into the center of the dry mix while whisking constantly. You want to create a thick paste first, then gradually thin it out until it is a homogenous, dark liquid with no visible dry spots.
3. Achieving the Perfect Boil
Place the pan over medium heat. Bring the mixture to a gentle simmer, whisking frequently. Once it reaches a boil, reduce the heat to low and let it bubble for exactly 3 to 5 minutes.
Visual Cue: Watch for the bubbles to change from large and watery to small, tight, and “glassy.” This indicates the water has evaporated sufficiently to create a thick syrup.

4. The Gloss Enhancement
Remove the pan from the heat. Stir in the vanilla extract and the optional corn syrup. You will immediately see the mixture take on a high-gloss sheen that reflects the light beautifully.
5. The Silver Spoon Test
Dip a silver spoon into the hot syrup and lift it high above the pan. The syrup should fall back into the jar in a thick, unbroken ribbon that stacks on itself for a split second before disappearing into the surface. This is the hallmark of a professional-grade Homemade Chocolate Syrup.
Expert Tips for Success
- Sift the Cocoa: If your cocoa powder is particularly lumpy, sift it through a fine-mesh strainer before adding the water to guarantee a smooth-as-silk texture.
- Avoid Overboiling: Boiling for too long will result in a syrup that is too thick to pour once it cools. Remember, it will thicken significantly as it drops to room temperature.
- Temperature Matters: Always add the vanilla extract *after* removing from heat. High heat can destroy the delicate vanillin molecules, leaving you with less flavor.
- Storage Vessel: Store in glass rather than plastic. Glass doesn’t hold onto odors and allows for easy reheating if you prefer a warm drizzle over lemon custard cake.
Creative Pairings and Serving Suggestions
The versatility of this Homemade Chocolate Syrup goes far beyond milk. Its thick, glossy nature makes it the perfect decorative element for plated desserts. Try drizzling it in a zig-zag pattern over a rich chocolate coconut cake for a bakery-style presentation.
For a breakfast treat, stir a tablespoon into the batter of your healthy banana oat cookies or use it as a dip for cinnamon roll pigs in a blanket. The dark, bittersweet notes of the cocoa perfectly balance the sweetness of baked goods.
If you are feeling adventurous, a tiny drizzle of this syrup over a spicy dish, like a mole-inspired ground beef taco bowl, can add an incredible depth of flavor and a touch of professional flair.
Frequently Asked Questions
Yes, but the syrup will be lighter in color and have a sharper, more acidic flavor. Dutch-process cocoa is recommended for that specific dark, glossy visual.
No, this specific recipe is naturally dairy-free and vegan, as it uses water as the liquid base rather than cream or milk.
For a thicker consistency, simply increase the simmering time by 1-2 minutes. Keep in mind it will continue to thicken significantly as it cools.
When stored in an airtight glass jar, this syrup stays fresh and pourable for up to 3 to 4 weeks in the refrigerator.
Graininess is usually caused by sugar crystals re-forming. To prevent this, ensure the sugar is fully dissolved during the simmer and consider adding a tablespoon of corn syrup to stabilize the mixture.
The Ultimate Homemade Chocolate Syrup Recipe
Homemade Chocolate Syrup: The Ultimate Glossy Dark Chocolate Drizzle
Equipment
- 1 Heavy-bottomed saucepan Prevents scorching
- 1 Whisk Ensures a smooth, lump-free texture
- 1 Wide-mouth glass jar For storage and easy pouring
Ingredients
Syrup Components
- 1 cup (100g) Dutch-process cocoa powder Sifted if lumpy
- 1.5 cups (300g) Granulated white sugar
- 1 cup (240ml) Filtered water
- 1/4 tsp (1.5g) Fine sea salt To balance sweetness
- 1 tbsp (15ml) Pure vanilla extract Add at the very end
- 2 tbsp (30ml) Light corn syrup Optional, for extra gloss
Instructions
Prepare the Base
- Whisk cocoa powder, sugar, and salt in a cold saucepan until fully combined.
- Slowly whisk in water until a smooth, dark paste forms, then add remaining water.
Cooking and Finishing
- Bring to a boil over medium heat, then reduce to low and simmer for 3-5 minutes until the bubbles look glassy.
- Remove from heat. Stir in vanilla and corn syrup to achieve a high-gloss, thick finish.
- Pour into a glass jar and let cool at room temperature before sealing and refrigerating.
Notes
Do not overcook; the syrup thickens significantly as it cools.
Share Your Glossy Creations!
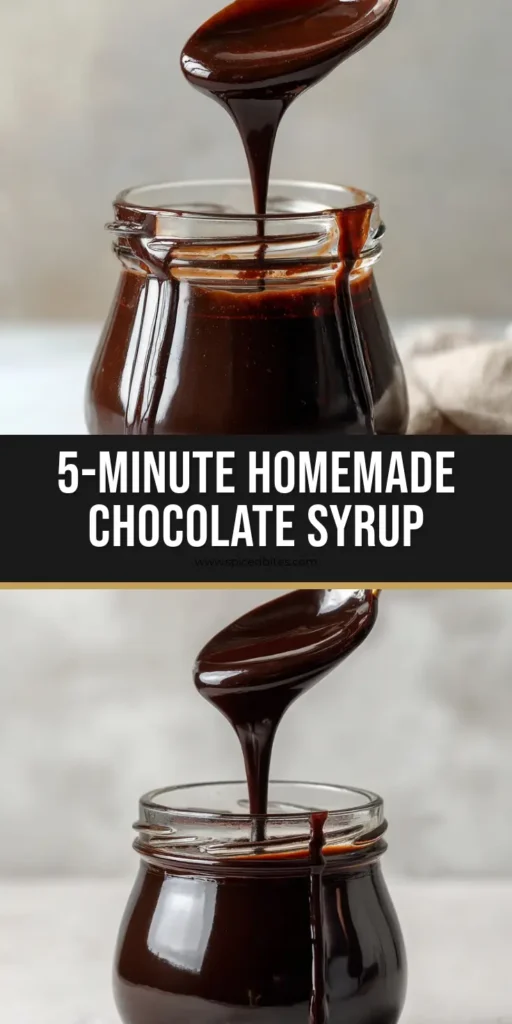
Creating your own Homemade Chocolate Syrup is a small kitchen win that yields massive flavor rewards. The sight of that thick, dark ribbon pouring over your favorite treats is enough to make anyone feel like a master chocolatier. We want to see how your syrup turned out!
Did you get that perfect drip on the rim of your glass jar? Take a photo and share it with us! Don’t forget to follow us on Pinterest for more visually stunning recipe inspiration and kitchen hacks. Leave a comment below and let us know—what are you drizzling this on today?


