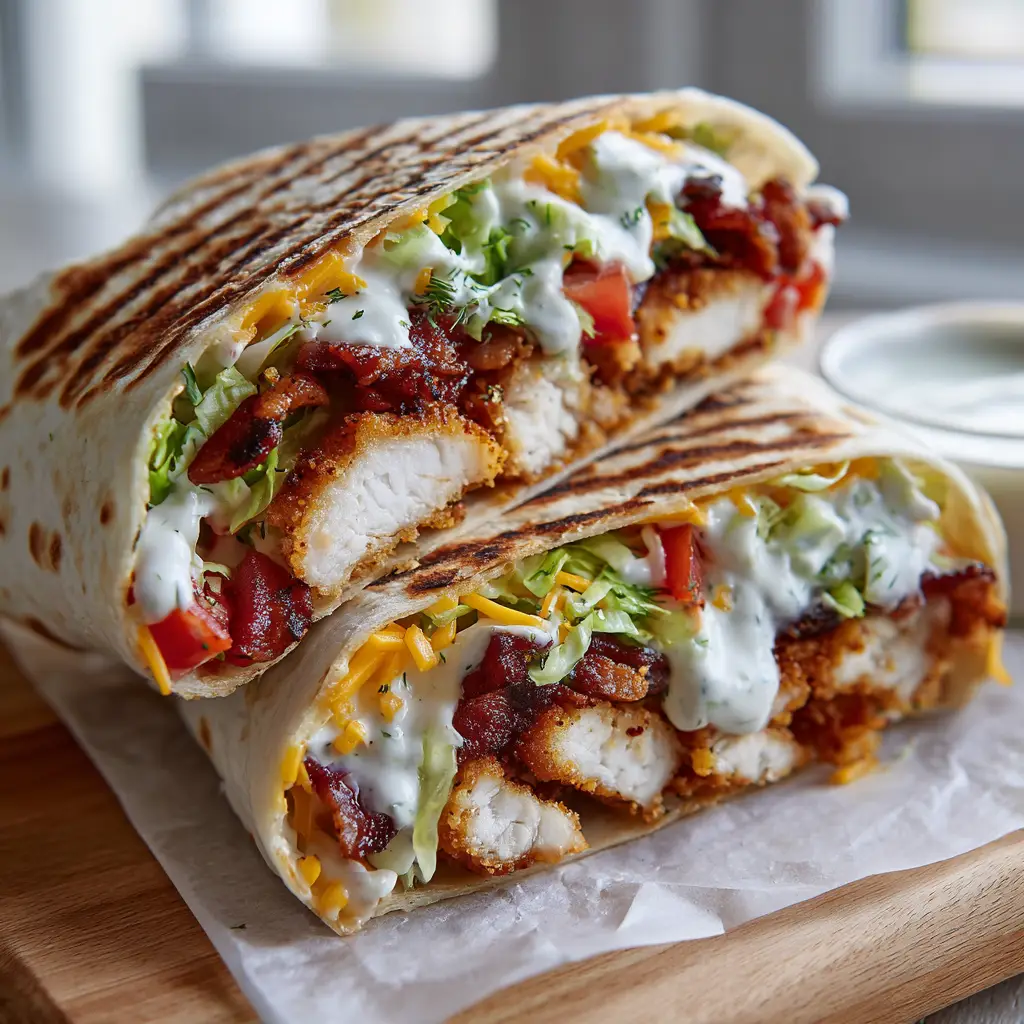
This isn’t just any Chicken Bacon Ranch Wrap recipe. This is the one you’ve been searching for, the kind you see in a perfect, handheld photo and instantly crave. We’re talking about a wrap where every single element is crafted to perfection: slices of genuinely crispy, golden-brown chicken, strips of shatteringly crisp bacon, and a thick, creamy homemade ranch dressing flecked with dill and parsley. It’s all bundled in a warm, toasted flour tortilla with beautiful grill marks and melted cheddar cheese holding everything together. Forget soggy, disappointing wraps; this is a masterclass in texture and flavor.
Every bite delivers a satisfying crunch, a burst of freshness from crisp lettuce and bright tomato, and the smoky, savory, creamy combination that makes the chicken, bacon, and ranch trio so iconic. This recipe is designed to recreate that exact, perfect cross-section you see in the pictures, ensuring your homemade version is just as stunning and delicious.
Why This Wrap Will Become Your New Obsession
This recipe is engineered for perfection, focusing on the textures and flavors that make a Chicken Bacon Ranch Wrap truly unforgettable.
- Unbeatable Crunch Factor: We use a specific breading technique to create chicken tenders that are audibly crispy and stay that way, perfectly complemented by smoky, brittle bacon.
- Creamy, Herb-Infused Ranch: The homemade ranch dressing is thick, luxurious, and packed with dill and parsley, exactly as a premium wrap demands. It’s the flavor backbone of this entire creation.
- Perfectly Toasted & Melted: By grilling the wrap after assembly, the tortilla gets faint char lines, the exterior becomes warm and pliable, and the shredded cheddar melts into a gooey, delicious glue.
- Visually Stunning Results: Following these steps ensures your final product will look exactly like the photos—a perfectly layered wrap that’s as impressive to look at as it is to eat.
The Anatomy of the Perfect Wrap
Each ingredient is chosen to create a specific texture and flavor, working in harmony to build the ultimate wrap experience.
For the Crispy Chicken Tenders
- Chicken Breast Tenderloins: 1 lb (450g) – Using tenderloins ensures your chicken is naturally tender and cooks quickly and evenly.
- All-Purpose Flour: 1 cup (120g) – This forms the base of our breading, giving the egg wash something to cling to.
- Large Eggs: 2 – Beaten with a splash of milk, this acts as the essential binder for our crispy coating.
- Panko Breadcrumbs: 1 1/2 cups (115g) – Panko provides a lighter, airier, and crunchier texture than traditional breadcrumbs, creating that golden-brown crust.
- Seasonings: 1 tsp each of paprika, garlic powder, salt, and 1/2 tsp black pepper – These are mixed into the flour to season the chicken from the very first layer.
- Vegetable Oil: For frying (approx. 2-3 inches / 5-7 cm in a skillet) – A neutral oil with a high smoke point is essential for achieving that perfect fry without burning.
For the Creamy Dill Ranch Dressing
- Mayonnaise: 1/2 cup (115g) – Provides the creamy, rich base of our dressing.
- Sour Cream: 1/2 cup (115g) – Adds a pleasant tang and body, making the dressing thick and luxurious.
- Milk or Buttermilk: 2-3 tbsp (30-45ml) – Used to thin the dressing to the perfect consistency. Buttermilk adds an extra layer of classic ranch flavor.
- Dried Dill: 1 tsp – This is a key flavor component, providing that signature cool, herbaceous note you can see in the final wrap.
- Dried Parsley: 1 tsp – Adds a fresh, peppery flavor and visual appeal with its green flecks.
- Garlic Powder & Onion Powder: 1/2 tsp each – These aromatics provide the savory foundation of the ranch flavor profile.
- Salt and Black Pepper: 1/4 tsp each, or to taste – Essential for enhancing all the other flavors.
For Assembly
- Large Flour Tortillas: 4 (10-inch/25cm) – Large “burrito-size” tortillas are crucial for holding all the fillings without tearing.
- Streaky Bacon: 8 slices – Cooked until dark and crispy, this provides a salty, smoky crunch.
- Iceberg Lettuce: 2 cups (approx. 150g), finely shredded – Iceberg offers a superior pale green color and a watery crunch that holds up well.
- Cherry Tomatoes: 1 cup (approx. 200g), diced – Their bright red color and sweet-tart flavor cut through the richness of the other ingredients.
- Shredded Yellow Cheddar Cheese: 1 1/2 cups (approx. 170g) – A sharp or medium cheddar provides a classic flavor and melts beautifully into a gooey layer.
Essential Tools for Wrap Perfection
To achieve the specific visual and textural results, having the right equipment is key. Here’s what you’ll need:
- Large Skillet or Dutch Oven: For frying the chicken to a perfect golden-brown.
- Wire Rack: Crucial for letting the chicken and bacon cool. This prevents them from steaming and becoming soggy.
- Three Shallow Dishes: For setting up an efficient breading station (flour, egg, panko).
- Grill Pan or Large Skillet: To toast the final wrap, creating those desirable grill marks and melting the cheese.
- Sharp Knife and Cutting Board: For all your slicing, dicing, and shredding needs.

Bringing Your Chicken Bacon Ranch Wrap to Life
Follow these steps closely to build a wrap that is structurally sound and visually perfect. We’ll build each component separately before the final assembly.
Step 1: Crafting the Crispy Golden-Brown Chicken
First, prepare your three-stage breading station. In one shallow dish, combine the all-purpose flour, paprika, garlic powder, salt, and pepper. In the second, whisk the eggs with a tablespoon of milk. In the third, spread out your panko breadcrumbs.
Dredge each chicken tenderloin first in the seasoned flour, shaking off the excess. Next, dip it entirely in the egg wash, letting any extra drip off. Finally, press it firmly into the panko breadcrumbs, ensuring a thick, even coat on all sides. This meticulous process is the secret to a truly crispy tender.
Heat your vegetable oil in a large skillet over medium-high heat. You’ll know it’s ready when a pinch of panko sizzles immediately. Carefully place the breaded chicken into the hot oil, ensuring not to overcrowd the pan. Fry for 3-4 minutes per side. Look for that deep, golden-brown color described in the prompt. Once cooked, transfer the crispy tenders to a wire rack to drain.
Step 2: Sizzling the Smoky, Crispy Bacon
While the chicken rests, cook the bacon. You can do this in a separate skillet over medium heat or bake it on a wire rack in the oven at 400°F (200°C) for 15-20 minutes. The goal is dark, crispy, streaky bacon. Don’t undercook it. It needs to be brittle enough to snap. Once done, transfer it to the wire rack alongside the chicken.
Step 3: Whipping Up the Creamy Dill & Parsley Ranch
This dressing is the heart of the wrap. In a medium bowl, combine the mayonnaise, sour cream, dried dill, dried parsley, garlic powder, and onion powder. Whisk until smooth.
Slowly stream in the milk or buttermilk, whisking continuously, until you reach a thick but pourable consistency. You want it rich and creamy, not watery. Season with salt and pepper to your liking. Set it aside for the flavors to meld.
Step 4: The Art of Assembly and the Final Grill
Now, we build the masterpiece. Gently warm your flour tortillas for 15-20 seconds in the microwave to make them more pliable. Lay one flat. Spread a generous layer of the ranch dressing down the center.
Layer the ingredients methodically: a handful of shredded cheddar, then the shredded iceberg lettuce, and the diced cherry tomatoes. Slice your crispy chicken tenders into thick, 1-inch (2.5cm) pieces and arrange them on top. Crumble two slices of crispy bacon over the chicken. Finish with another sprinkle of cheddar cheese—this will help everything melt together.
To fold, bring the bottom edge up over the filling, then fold in the sides tightly, and roll it away from you into a snug cylinder. Heat a grill pan or skillet over medium heat. Place the wrap seam-side down and toast for 2-3 minutes, until you see light brown grill marks form. Flip and toast the other side for another 2 minutes until the cheese is visibly melted and oozing. Repeat for all four wraps.
For the final presentation, let the wrap rest for one minute, then slice it diagonally with a sharp knife to reveal that perfect cross-section. Serve immediately.
Secrets from Our Test Kitchen
- Don’t Skip the Double Cheddar: Using cheese as the first and last layer inside the wrap is a pro move. It creates two melted layers that help bind the wrap together and prevent ingredients from falling out.
- Rest Your Chicken: Letting the breaded chicken sit for 5-10 minutes before frying can help the coating adhere better, resulting in an even crispier crust.
- Control the Moisture: Pat your shredded lettuce and diced tomatoes dry with a paper towel before adding them to the wrap. This is the single best way to prevent a soggy bottom.
- The Right Fold is Crucial: A tight, snug fold is essential. If it’s too loose, the cheese will leak out in the pan, and the wrap will fall apart when you slice it.
Make-Ahead and Storage Solutions
While this Chicken Bacon Ranch Wrap is best enjoyed fresh, you can prep components to make assembly a breeze. The crispy chicken and bacon can be cooked up to 2 days in advance and stored in an airtight container in the refrigerator. The ranch dressing can be made and stored for up to a week.
To reheat the chicken, use an air fryer or oven at 375°F (190°C) for 5-7 minutes to bring back the crispiness. I do not recommend assembling the entire wrap ahead of time, as the tortilla will become soggy from the dressing and tomatoes.
Freezing is not recommended for the fully assembled wrap due to the fresh lettuce and tomatoes.
Perfect Pairings for Your Wrap
A great wrap deserves a great side dish. While it’s a complete meal on its own, pairing it with a comforting soup or a simple salad can elevate your lunch or dinner. For a truly hearty meal, consider serving it alongside a bowl of creamy broccoli potato soup.
If you’re in the mood for something different but equally satisfying, our recipe for easy pizza sliders is always a crowd-pleaser. And for another fantastic chicken dinner idea, this parmesan crusted chicken is a must-try.
Your Questions, Answered
Here are some common questions to help you achieve wrap perfection on your first try.
It’s best not to assemble the entire wrap ahead of time, as it can get soggy. However, you can prepare all the components—cook the chicken and bacon, make the ranch dressing, and chop the vegetables—and store them separately in the fridge for up to 2-3 days for quick assembly.
Absolutely! If you’re short on time, a thick, high-quality store-bought ranch dressing will work well. We recommend looking for one that is thick and creamy to prevent it from making the wrap soggy.
The key to extra crispy chicken is a three-step breading process (flour, egg, then Panko breadcrumbs) and frying in oil that is hot enough (around 350°F / 175°C). Don’t overcrowd the pan, and let the chicken rest on a wire rack, not paper towels, to prevent steaming.
The best way to prevent a soggy wrap is to manage moisture. Pat your lettuce and tomatoes dry with a paper towel before adding them. Also, use a thick ranch dressing and assemble the wrap just before you plan to grill and eat it.
Large, 10-inch ‘burrito-style’ flour tortillas are the best choice. They are sturdy enough to hold all the fillings without tearing and large enough to fold securely. Warming them slightly before rolling makes them more pliable and easier to work with.
Ready to Make The Ultimate Chicken Bacon Ranch Wrap?
This recipe card has everything you need to get started. Don’t forget to save it, print it, and get ready to create the best wrap of your life.
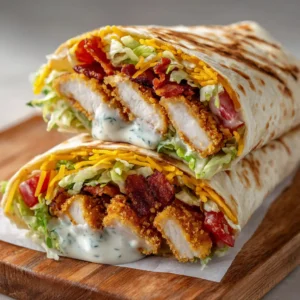
The Ultimate Chicken Bacon Ranch Wrap (Crispy & Cheesy)
Equipment
- 1 Large skillet
- 1 Grill Pan
- 1 Wire rack
Ingredients
- 1 lb Chicken Breast Tenderloins (450g)
- 1 cup All-Purpose Flour (120g)
- 2 Large Eggs beaten
- 1 1/2 cups Panko Breadcrumbs (115g)
- 1 tsp Paprika
- 1 tsp Garlic Powder
- 1 tsp Salt
- 1/2 tsp Black Pepper
- 2-3 inches Vegetable Oil for frying
- 1/2 cup Mayonnaise (115g)
- 1/2 cup Sour Cream (115g)
- 2-3 tbsp Milk or Buttermilk (30-45ml)
- 1 tsp Dried Dill
- 1 tsp Dried Parsley
- 1/2 tsp Garlic Powder
- 1/2 tsp Onion Powder
- 1/4 tsp Salt and Black Pepper to taste
- 4 Large Flour Tortillas (10-inch/25cm)
- 8 slices Streaky Bacon cooked until crispy
- 2 cups Iceberg Lettuce finely shredded
- 1 cup Cherry Tomatoes diced
- 1 1/2 cups Shredded Yellow Cheddar Cheese
Instructions
- Set up three shallow dishes. In the first, mix flour, paprika, garlic powder, salt, and pepper. In the second, whisk the eggs. In the third, place the panko breadcrumbs.
- Dredge each chicken tender in the flour mixture, then the egg wash, and finally press firmly into the panko breadcrumbs to coat completely.
- Heat vegetable oil in a skillet over medium-high heat. Fry the chicken for 3-4 minutes per side, until deep golden-brown and cooked through. Transfer to a wire rack.
- In a separate skillet, cook the bacon over medium heat until dark and crispy. Transfer to the wire rack to drain.
- In a bowl, whisk together mayonnaise, sour cream, dried dill, dried parsley, garlic powder, and onion powder. Slowly whisk in milk or buttermilk until you reach a thick, creamy consistency. Season with salt and pepper.
- Warm a tortilla. Spread ranch down the center, then layer with cheddar cheese, lettuce, tomatoes, sliced crispy chicken, crumbled bacon, and another sprinkle of cheese.
- Fold the bottom edge up, then fold in the sides tightly and roll into a cylinder. Place seam-side down on a heated grill pan over medium heat.
- Toast for 2-3 minutes per side, until the tortilla has grill marks and the cheese is fully melted.
- Let the wrap rest for one minute before slicing diagonally. Serve immediately.
Notes
Rest Your Chicken: Letting breaded chicken sit for 5-10 minutes before frying helps the coating adhere.
Control the Moisture: Pat your lettuce and tomatoes dry to prevent a soggy wrap.
The Right Fold is Crucial: A tight, snug fold prevents the wrap from falling apart.
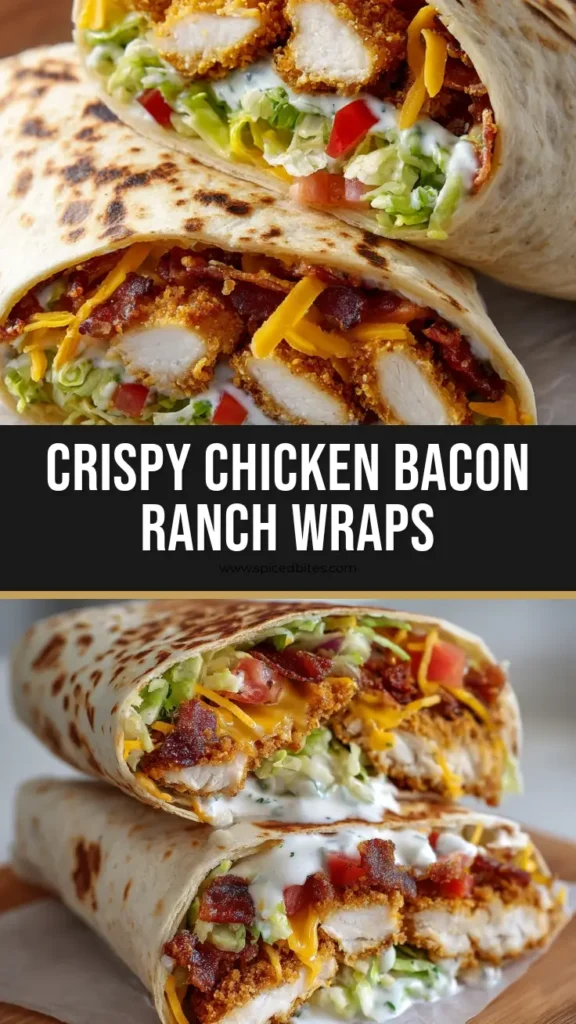
Join the Wrap Revolution!
You’ve seen the vision, you have the blueprint—now it’s time to create your own masterpiece. This Chicken Bacon Ranch Wrap is more than just a recipe; it’s a guaranteed win for any lunch or dinner.
If you make this, I’d love to see it! Share your creations and tag us. For more visually stunning and delicious recipes, be sure to follow us on Pinterest. Drop a comment below and let us know how yours turned out!