There is a specific, almost magical alchemy found behind the glass display cases of high-end urban bakeries. You know the sight: massive, craggy, bakery-style chocolate chip cookies that stand tall, boasting golden-brown peaks and deep, pale valleys. These aren’t your average thin-and-crispy supermarket snacks; these are architectural marvels of butter, sugar, and cocoa.
The secret to achieving that professional, rustic look lies not just in the ingredients, but in the forensic attention to temperature and texture. We are recreating that exact experience today, focusing on a dough that holds its shape to create those iconic “thick and chunky” profiles. Each bite offers a contrast between the deep caramelization of the peaks and the soft, tender dough hidden in the valleys.
By using a combination of large, hand-chopped milk chocolate chunks and creamy white chocolate chips, we create a visual and flavor tapestry that is far superior to standard chips. The milk chocolate provides a melty, classic richness, while the white chocolate adds a hit of creamy sweetness that balances the salt-flecked dough. Get ready to master the art of the professional bake in your own home kitchen.
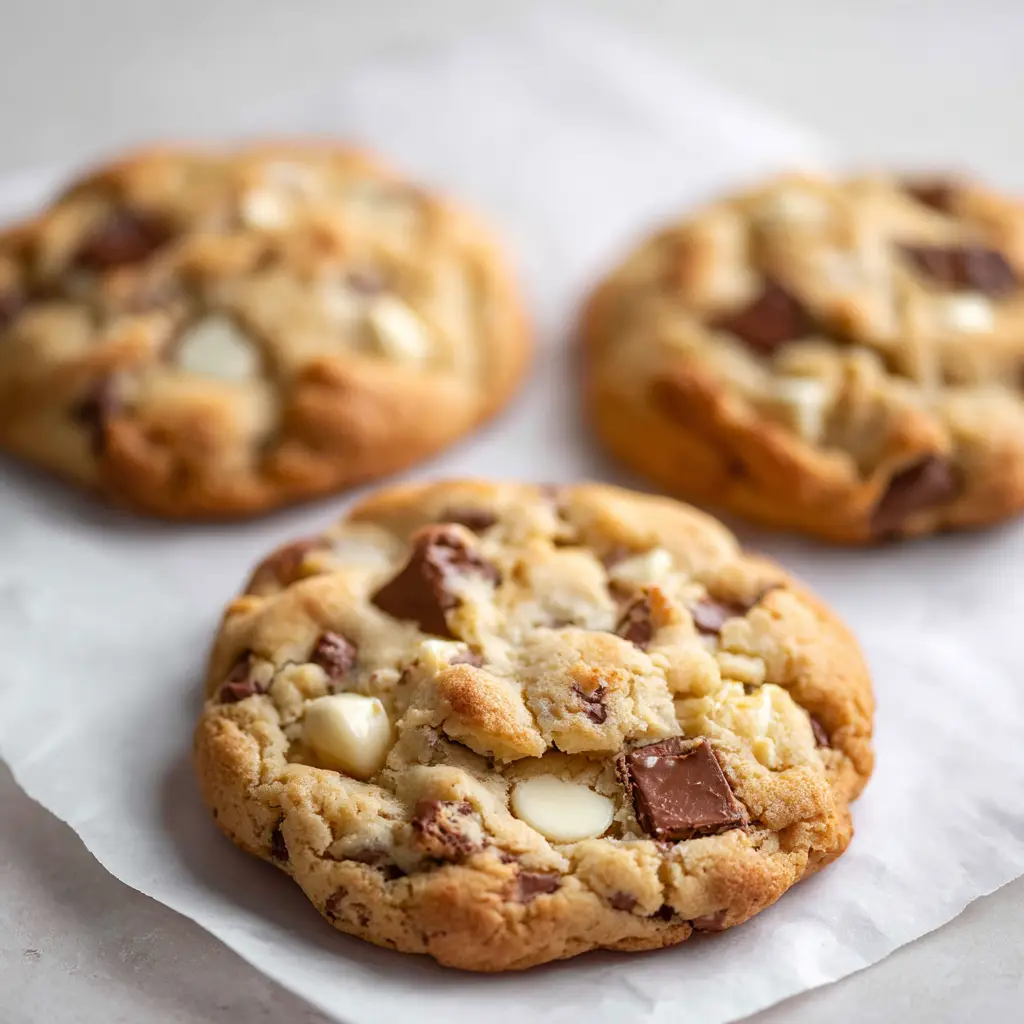
Why These Rustic Bakery-Style Cookies Outperform Every Other Recipe
- The Craggy Architecture: Unlike smooth, round cookies, our hand-formed dough creates a rustic, uneven surface that maximizes the Maillard reaction for extra flavor.
- Dual-Chocolate Profile: We utilize large milk chocolate chunks for pools of melted cocoa and premium white chocolate chips for a distinct, creamy bite.
- Structural Integrity: Using cold, cubed butter and a high-heat baking method ensures these cookies stay thick and towering rather than spreading into puddles.
- Visual Contrast: The “golden-brown peaks and paler valleys” described in professional food photography are achieved through specific leavening ratios.
- Bakery-Level Texture: A soft, doughy center protected by a crisp, golden exterior provides the ultimate sensory experience for home cooks.
Essential Components for the Ultimate Cookie Texture
Cold, Unsalted Butter: 1 cup (227g). Unlike many recipes that call for softened butter, we use cold, cubed butter to maintain structure and prevent the bakery-style chocolate chip cookies from spreading too quickly in the oven.
Granulated White Sugar: 3/4 cup (150g). This provides the crispness on the exterior peaks and helps achieve that beautiful golden-brown color during the bake.
Light Brown Sugar: 3/4 cup (150g). Packed with molasses, this ingredient is responsible for the “paler valleys” and the chewy, moist interior that stays soft for days.
Large Eggs: 2 eggs. These act as the primary binder, providing the necessary moisture and protein to hold the heavy inclusions of chocolate chunks and chips together.
All-Purpose Flour: 3 cups (375g). A high volume of flour is necessary to create the “densely packed” nature of a bakery-style cookie, providing the weight needed for height.
Cornstarch: 1 tsp (3g). This is a “secret” bakery ingredient that softens the proteins in the flour, resulting in a more tender, melt-in-your-mouth crumb.
Baking Soda and Baking Powder: 1/2 tsp (3g) and 1 tsp (5g). This dual-leavening approach ensures the cookies rise rapidly to create peaks while remaining dense enough to be “rustic.”
Sea Salt: 3/4 tsp (5g). Salt is non-negotiable in professional baking, as it cuts through the sweetness of the white chocolate and enhances the depth of the milk chocolate chunks.
Milk Chocolate Chunks: 1.5 cups (250g). Use a high-quality bar chopped into irregular, large pieces to ensure you get those “partially melted” pools of chocolate visible in the final bake.
White Chocolate Chips: 1 cup (170g). These provide a distinct visual pop and a creamy texture that contrasts beautifully with the darker milk chocolate.
Professional Tools for Success
To achieve the results seen in our
You may also find a digital scale helpful for ensuring your measurements are precise. While we provide Imperial (Metric) dual-unit formatting, weighing your flour is the most reliable way to prevent dry, crumbly cookies. Finally, a large cookie scoop or a simple kitchen scale will help you portion the dough into the “thick” sizes required for this style.

Step-by-Step Guide to Crafting Bakery-Style Chocolate Chip Cookies
Mastering the Cold Butter Creaming Method
Begin by placing your cold, cubed 1 cup (227g) of butter into the bowl of your mixer. Add the white sugar and brown sugar. Beat on medium-high for about 3-4 minutes. You are looking for a sensory cue here: the mixture should no longer look like separate chunks of butter but should resemble a thick, grainy paste that has lightened slightly in color.
Incorporating the Binders and Dry Base
Add the 2 large eggs one at a time, beating well after each addition until fully incorporated. In a separate bowl, whisk together your 3 cups (375g) of flour, cornstarch, baking soda, baking powder, and sea salt. Turn the mixer to the lowest setting and slowly add the dry ingredients. Stop mixing the moment you see the last streak of white flour disappear to avoid overdeveloping the gluten.
Folding in the Dual-Chocolate Inclusions
Using a sturdy spatula, fold in the 1.5 cups (250g) of milk chocolate chunks and 1 cup (170g) of white chocolate chips by hand. Ensure the chocolate is “densely packed” throughout the dough. The irregular shapes of the hand-chopped milk chocolate will create those rustic, craggy surfaces that characterize the best bakery-style chocolate chip cookies.
Forming the Rustic Peaks and Valleys
This is the most critical step for visual accuracy. Take about 1/2 cup (approx. 120g) of dough and pull it apart into two jagged halves. Join them back together with the torn, craggy edges facing upward. Do not roll them into smooth balls! Place three of these large, rustic mounds onto a baking sheet lined with white parchment paper, leaving ample space between them.
The High-Heat Bake and Cooling Process
Preheat your oven to 410°F (210°C). Slide the cookies in and bake for 10-12 minutes. Watch for the visual cues: the “peaks” should be a deep golden-brown, while the “valleys” remain pale and slightly soft. The milk chocolate chunks should look partially melted and glossy. Let the cookies rest on the hot pan for at least 15 minutes to allow the internal structure to set while keeping the center fudgy.
Expert Tips for Bakery-Level Success
- Temperature Control: If your kitchen is very warm, chill the formed dough balls for 15 minutes before baking to ensure they don’t spread too much.
- The “Torn Dough” Technique: Never roll the dough between your palms; always pull it apart to create the uneven surface that catches the heat and browns beautifully.
- Quality Chocolate: Use a chocolate bar for the milk chocolate chunks. The cocoa butter content in bars is higher than in chips, leading to those superior “melted” pools.
- Don’t Overbake: The cookies will look slightly underdone in the center when you pull them out. This is intentional to preserve the “rustic, soft” interior.
How to Store and Preserve Your Cookies
These bakery-style chocolate chip cookies are best enjoyed within 24 hours of baking when the edges are at their crispiest. However, you can store them in an airtight container at room temperature for up to 4 days. To revive that fresh-from-the-oven texture, microwave a single cookie for 10-15 seconds until the chocolate chunks begin to glisten.
For long-term storage, these cookies freeze beautifully. You can freeze the unbaked dough balls for up to 3 months. When the craving strikes, simply bake them directly from frozen, adding an extra 2-3 minutes to the total baking time. This is a great way to have a “freshly baked” experience whenever you want.
Pairing Your Cookies with Other Sweet Treats
While these cookies are a masterpiece on their own, they often feature in a larger dessert spread. If you are hosting a brunch, consider serving them alongside Make-Ahead Egg Muffins for a balanced sweet and savory start to the day. For a chocolate-themed party, they pair excellently with a slice of Chocolate Coconut Cake.
If you prefer fruitier notes to cleanse the palate between bites of rich chocolate, a Lemon Custard Cake offers a bright, acidic contrast. For those who enjoy varied textures, adding Healthy Banana Oat Cookies to the platter provides a chewy, wholesome alternative that caters to all guests.
Common Questions About Bakery-Style Cookies
While chips work, hand-chopped milk chocolate chunks contain fewer stabilizers, allowing them to melt into larger, glossier pools of chocolate which improves the overall mouthfeel and rustic look.
Avoid rolling the dough into smooth balls. Instead, tear the dough apart and gently press the jagged edges back together. This creates an uneven surface that browns into beautiful peaks and valleys.
Cornstarch acts as a tenderizer by breaking up the gluten network in the flour. This results in a cookie that is thick and sturdy but remains soft and ‘melt-in-your-mouth’ on the inside.
High heat creates an immediate ‘blast’ that sets the outer structure of the cookie quickly. This locks in the height and creates a crisp, golden-brown exterior while leaving the center soft and doughy.
Cold butter takes longer to melt in the oven, which prevents the cookies from spreading too quickly. This technique is essential for creating the height and ‘thick’ profile characteristic of bakery-style cookies.
The Ultimate Bakery-Style Chocolate Chip Cookie Recipe

Bakery-Style Chocolate Chip Cookies with Milk and White Chocolate Chunks
Equipment
- 1 Stand Mixer Or hand mixer
- 2 Baking Sheet
- 1 White Parchment Paper
Ingredients
Main Recipe
- 1 cup unsalted butter cold and cubed (227g)
- 3/4 cup granulated white sugar 150g
- 3/4 cup light brown sugar packed (150g)
- 2 large eggs cold
- 3 cups all-purpose flour 375g
- 1 tsp cornstarch 3g
- 1 tsp baking powder 5g
- 1/2 tsp baking soda 3g
- 3/4 tsp sea salt 5g
- 1.5 cups milk chocolate chunks 250g, hand-chopped
- 1 cup white chocolate chips 170g
Instructions
Preparation
- Cream cold cubed butter with white and brown sugars for 3-4 minutes until a thick, grainy paste forms.
- Add eggs one at a time, beating until fully incorporated into the butter mixture.
- Slowly mix in flour, cornstarch, baking powder, baking soda, and salt on low speed until just combined.
- Fold in the milk chocolate chunks and white chocolate chips by hand using a spatula.
- Tear large handfuls of dough apart and push back together with craggy edges facing up to create rustic peaks.
- Bake at 410°F (210°C) for 10-12 minutes until peaks are golden-brown and valleys remain pale.
Notes
Don't roll the dough into smooth balls; keep the surface rustic for the best texture.
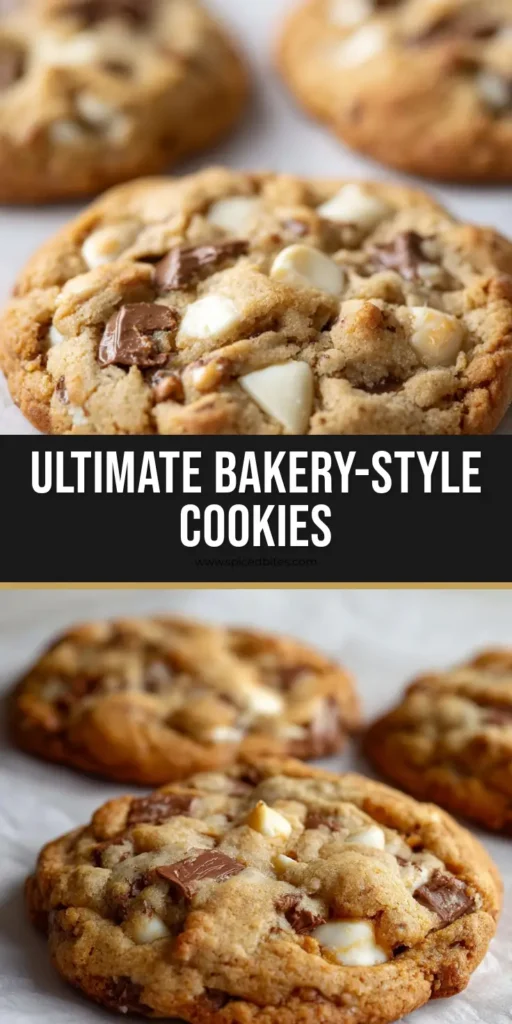
Join the Spiced Bites Community!
We hope these bakery-style chocolate chip cookies bring a touch of professional flair to your home kitchen. There is nothing quite like the smell of browning butter and melting chocolate wafting through the house. If you enjoyed this recipe, please leave a comment below and let us know how your “craggy peaks” turned out!
Don’t forget to share your creations on social media and tag us. For more daily inspiration and decadent dessert ideas, be sure to follow us on Pinterest. Happy baking!
Looking for more comfort food? Check out our latest guide on Texas Roadhouse Smothered Chicken for a hearty dinner before you dive into dessert!


