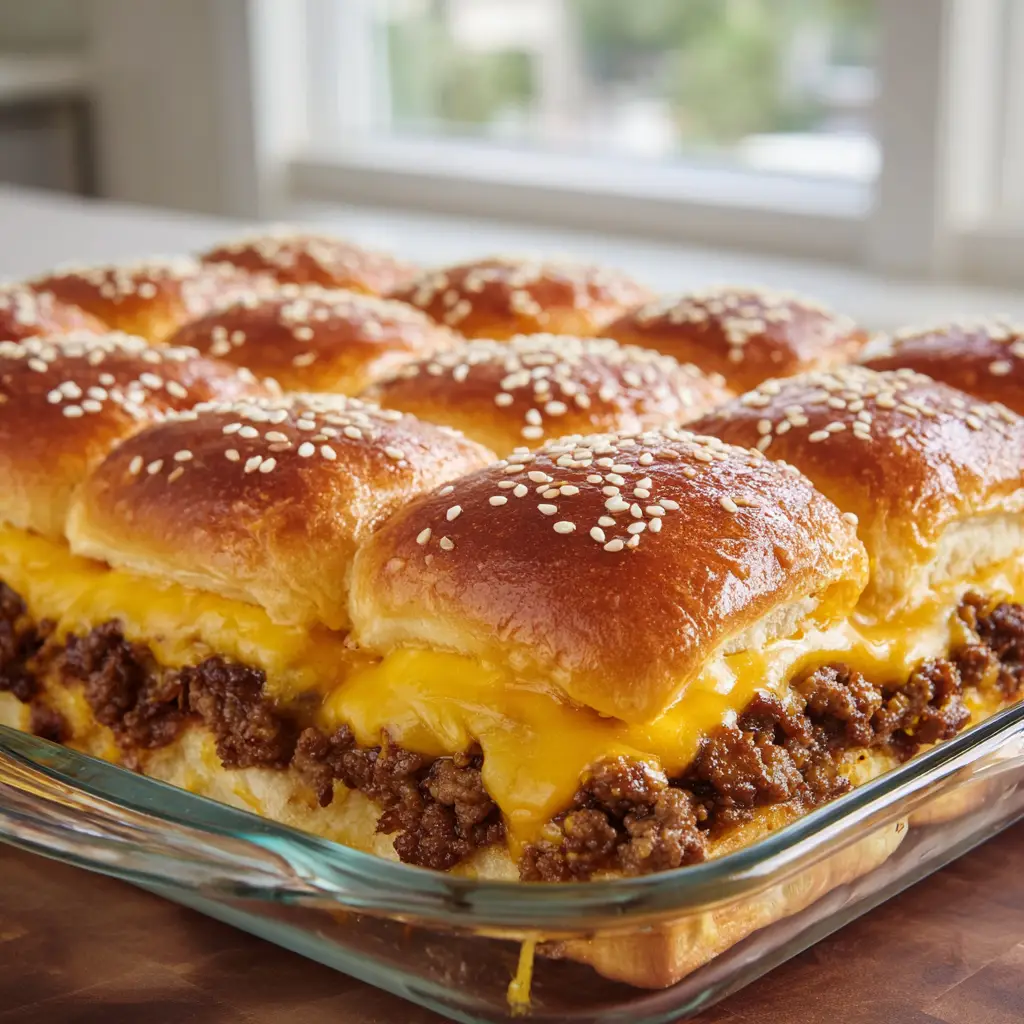
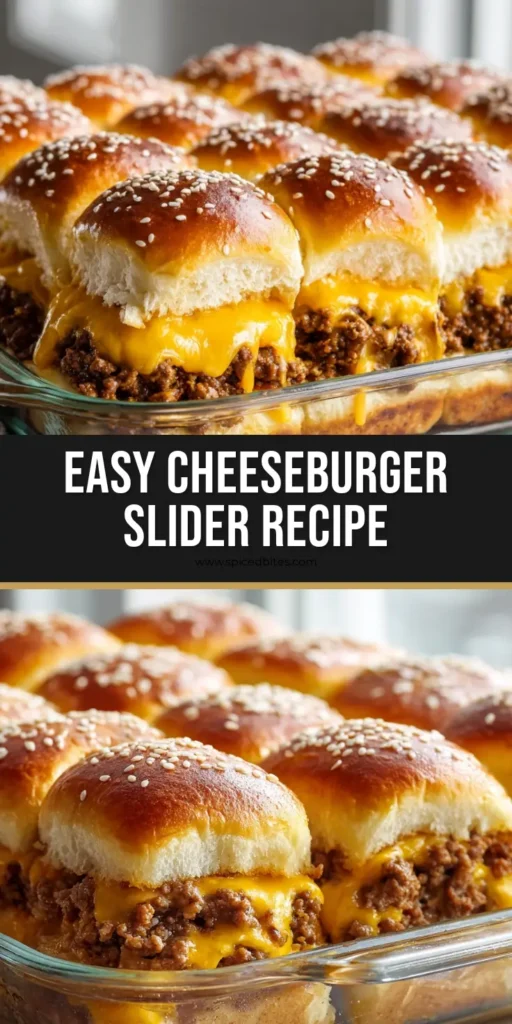
When it comes to the ultimate crowd-pleasing appetizer or a stress-free weeknight dinner, nothing competes with these iconic Cheeseburger Sliders. Imagine pulling a clear glass baking dish out of the oven to see a dozen perfectly golden-brown rolls, their tops glistening with a savory butter glaze and a crunch of toasted sesame seeds. As you lift one away, the bright yellow American cheese pulls in a beautiful, molten stretch, revealing a thick, edge-to-edge layer of seasoned ground beef crumbles nestled within a soft, pillowy Hawaiian roll.
This recipe isn’t just about making mini burgers; it is about achieving that specific “handheld smartphone photo” aesthetic where every ingredient is visible and enticing. We are focusing on the forensic details: the way the cheese drips slightly down the sides of the savory beef crumbles and how the natural daylight catches the glossy, buttered buns. Whether you are hosting a game day party or just need a win with the kids, these sliders deliver high-impact flavor with minimal effort.
Why These Mini Cheeseburgers Are a Total Game Changer
- Perfectly Proportioned Crumbles: Unlike traditional sliders that use individual patties, we use a slab-style assembly with browned beef crumbles to ensure every single bite is packed with savory protein.
- The Ultimate Melt: Using American cheese provides that classic, creamy “melt” that drapes over the beef, creating a structural bond that keeps the sliders together.
- The Sweet and Salty Balance: The contrast between the sugary Hawaiian rolls and the salt-crusted, browned beef creates a complex flavor profile that keeps you coming back for “just one more.”
- High-Volume Efficiency: You can prepare twelve burgers simultaneously in one baking dish, making this much more efficient than standing over a grill for individual patties.
The Anatomy of a Perfect Cheeseburger Slider Ingredient List
The Foundation: Sweet Hawaiian Rolls
You will need 1 package (12 count) of Hawaiian sweet rolls, kept as a single slab. These rolls provide the essential soft texture and sweet undertone that balances the savory beef and salty cheese.
The Protein: Lean Ground Beef
Use 1.5 lbs (680g) of 80/20 or 90/10 ground beef to ensure the meat stays juicy without making the bottom buns soggy. The beef is browned into fine crumbles to ensure even distribution across the entire slab of rolls.
The “Glue”: American Cheese Slices
You will need 12 slices (approx. 250g) of bright yellow American cheese. This specific cheese has a low melting point, which is crucial for achieving that “dripping down the sides” visual described in our blueprint.
The Flavor Enhancers: Onion and Garlic
1 small yellow onion (approx. 150g), finely diced, and 1 tsp (5g) garlic powder are essential for the aromatic base. These “invisible” ingredients build the savory profile within the beef crumbles without distracting from the visual aesthetic.
The Glaze: Butter and Aromatics
4 tbsp (56g) of unsalted butter, melted and mixed with 1 tsp (5ml) Worcestershire sauce. This glaze creates the glossy, deep golden brown finish on the buns that defines the high-end food blog look.
The Finishing Touch: White Sesame Seeds
1 tbsp (9g) of white sesame seeds provides a professional, “burger joint” finish. They add a subtle toasted nuttiness and a beautiful textural contrast to the shiny, buttered tops.
Essential Kitchen Tools for Success
The 9×13 Clear Glass Baking Dish
A standard glass baking dish is vital for even heat distribution and allows you to see the cheese melting down the sides of the beef. It also provides the perfect footprint for a standard 12-pack of Hawaiian rolls.
The Large Cast Iron Skillet
A heavy-bottomed skillet is best for browning the ground beef. It allows for a superior sear on the crumbles, ensuring you get those flavorful browned bits that are essential for a “savory” profile.
A Long Serrated Bread Knife
To keep the sliders uniform, you must slice the entire slab of rolls horizontally at once. A long serrated knife ensures a clean cut without squishing the soft bread.

Step-by-Step Guide to Baking the Perfect Sliders
Phase 1: Browning the Beef Crumbles
Place your skillet over medium-high heat and add the ground beef. Use a wooden spoon to break the meat into small, uniform crumbles as it browns. This is the “savory ground beef crumbles” stage mentioned in the visual prompt.
Halfway through browning, add the diced onions, salt, and black pepper. Continue cooking until the beef is fully browned and the onions are translucent. Drain any excess fat thoroughly; this prevents the bottom of the Hawaiian rolls from becoming greasy or soggy during the bake.
Phase 2: Preparing the Roll Foundation
Take the entire slab of 12 Hawaiian rolls out of the packaging. Do not pull them apart. Use your serrated knife to slice the entire block in half horizontally, creating one large top slab and one large bottom slab.
Place the bottom slab into the 9×13 glass baking dish. If you enjoyed the ease of this slab-style assembly, you might also want to try our pizza sliders for your next party. Ensure the bread covers the bottom of the dish edge-to-edge.
Phase 3: Layering for Maximum Impact
Spread the browned beef crumbles evenly over the bottom slab of rolls. Use a spatula to press the meat down slightly so it forms a stable, flat layer. This ensures that every slider has an equal amount of meat.
Lay the 12 slices of yellow American cheese over the beef. Overlap them slightly so that every square inch of the beef is covered. This “sheet of cheese” will melt and create that beautiful dripping effect as it heats up in the oven.
Phase 4: The Butter Glaze and Final Bake
Place the top slab of Hawaiian rolls over the cheese. In a small bowl, whisk together the melted butter, Worcestershire sauce, and garlic powder. Use a pastry brush to apply the glaze generously over the tops, making sure to hit the edges.
Sprinkle the white sesame seeds over the glossy butter glaze. Cover the dish with aluminum foil—this prevents the tops from burning while the cheese melts. Bake at 350°F (175°C) for 10 minutes, then remove the foil and bake for another 5-8 minutes until the tops are a deep, shiny golden brown.
Expert Tips for the Ultimate Slider Texture
- The Steam Secret: Covering the dish with foil for the first half of baking creates a small amount of steam. This softens the rolls and helps the American cheese melt into the beef crumbles before the tops get too crunchy.
- Drain the Beef Twice: For the cleanest visual result, drain the beef in a colander, then pat it with a paper towel. This ensures no grease leaks out into the glass dish, keeping the bottom bun “foundation” sturdy.
- Avoid Over-Browning: Keep a close eye on the sesame seeds. They can turn from white to burnt very quickly. You want a “toasted” look, not a “charred” one.
- Wait Before Slicing: Let the sliders rest in the glass dish for 5 minutes after removing them from the oven. This allows the cheese to set slightly, making it much easier to cut them into individual servings without the meat falling out.
How to Store, Reheat, and Freeze Your Sliders
If you have leftovers, store them in an airtight container in the refrigerator for up to 3 days. To maintain the “glossy bun” texture, reheat them in the oven at 325°F (160°C) covered with foil for about 10 minutes. Avoid the microwave if possible, as it can make the Hawaiian rolls chewy or tough.
For freezing, wrap individual sliders in plastic wrap and then place them in a freezer bag. They will stay fresh for up to 2 months. Thaw them in the fridge overnight before reheating in the oven. If you find yourself with extra ground beef, it works perfectly for ground beef taco bowls later in the week.
What to Serve With Cheeseburger Sliders
These sliders are rich and savory, so they pair perfectly with something bright or crunchy. A classic wedge salad or vinegar-based coleslaw provides a necessary acidic hit to cut through the melted American cheese.
If you are looking for a complete “burger night” experience, consider serving these alongside some crispy fries. For those looking for a healthier alternative to a bun-heavy meal, our high protein cheeseburger bowls offer all the same flavors with a different nutritional profile. If you’re hosting a brunch, these sliders even pair well with make ahead egg muffins for a sweet and savory spread.
Frequently Asked Questions About Hawaiian Roll Sliders
Yes, you can assemble the sliders up to 4 hours in advance. Keep them covered in the refrigerator and wait to apply the butter glaze until just before you put them in the oven.
While Hawaiian sweet rolls are traditional for their soft texture and sweetness, you can substitute them with slider-sized brioche buns or mini dinner rolls if preferred.
Browning the beef into crumbles first ensures even cooking and a consistent distribution across the slab of rolls, making them much easier to eat than individual mini-patties.
The key is to thoroughly drain the ground beef crumbles after browning. You can even pat them with a paper towel to remove excess moisture and fat before layering them onto the rolls.
American cheese is the gold standard for sliders because of its superior meltability and classic salty flavor, though sharp cheddar or provolone can also be used for a different taste profile.
The Ultimate Cheeseburger Sliders Recipe Card
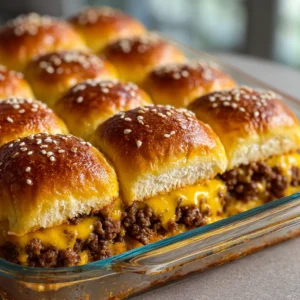
Cheeseburger Sliders with Sweet Hawaiian Rolls and Savory Beef
Equipment
- 1 9x13 Glass Baking Dish Clear glass preferred for visual monitoring.
- 1 Large skillet Cast iron or non-stick for browning beef.
- 1 Serrated Bread Knife For slicing the roll slab horizontally.
Ingredients
Main Ingredients
- 1 package Hawaiian Sweet Rolls 12-count slab
- 1.5 lbs Ground Beef 80/20 or 90/10 lean ratio
- 1 small Yellow Onion Finely diced
- 1 tsp Garlic Powder
- 12 slices American Cheese Bright yellow slices
- 4 tbsp Unsalted Butter Melted
- 1 tsp Worcestershire Sauce
- 1 tbsp White Sesame Seeds
Instructions
Prepare the Beef Filling
- In a large skillet over medium-high heat, brown the ground beef, breaking it into small crumbles. Add diced onions and garlic powder halfway through.
- Once fully cooked and onions are soft, drain the excess grease thoroughly to prevent soggy buns.
Assemble the Sliders
- Keep the Hawaiian rolls connected as a slab. Use a serrated knife to slice the entire block horizontally.
- Place the bottom slab in a glass baking dish. Spread beef crumbles edge-to-edge, then cover completely with American cheese slices.
- Place the top roll slab on. Brush with a mixture of melted butter and Worcestershire sauce. Sprinkle with sesame seeds.
Bake to Perfection
- Cover with foil and bake at 350°F (175°C) for 10 minutes.
- Remove foil and bake for 5-8 more minutes until the rolls are a deep golden brown and the cheese is dripping down the sides.
Notes
Use a serrated knife for the cleanest individual slider cuts after baking.
Join the Spiced Bites Community!
These Cheeseburger Sliders are a guaranteed hit for any occasion, combining nostalgic flavors with professional culinary techniques. If you enjoyed this recipe, please leave a comment below and let us know how they turned out! We love seeing your creations, so don’t forget to tag us on social media.
For more delicious inspiration, be sure to follow us on Pinterest and pin this recipe to your favorite “Game Day” or “Easy Dinner” boards. Sharing our content helps us continue to provide high-quality, forensic-level recipes for home cooks like you. Happy cooking!